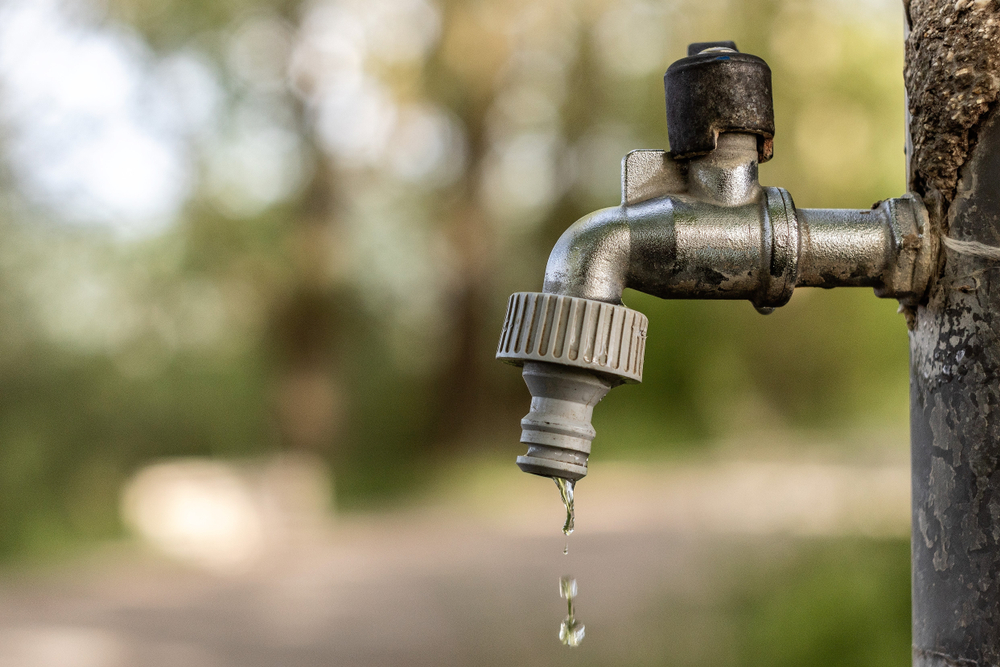
Nothing’s more frustrating than hearing that constant drip from your exterior faucet leaking. It’s not just annoying—it could also be costing you money and wasting precious water. Whether you’re dealing with a slow drip or a full-on leak, it’s time to take action. This guide will walk you through everything you need to know about fixing and preventing leaks in your outdoor faucets, ensuring your plumbing stays in top shape.
Exterior faucet leaking is a common issue that many homeowners face, and it’s often overlooked until it becomes a bigger problem. Ignoring a leaky faucet can lead to water wastage, higher utility bills, and even damage to your home’s foundation. The good news? Most leaks are relatively easy to fix if you know what to look for.
In this article, we’ll dive deep into the causes of exterior faucet leaks, how to diagnose the problem, step-by-step solutions, and tips to prevent future leaks. So grab your tools, roll up your sleeves, and let’s get started on fixing that pesky drip once and for all.
Read also:Drake Leak Unblurred The Untold Story Behind The Chaos
Table of Contents
- Common Causes of Exterior Faucet Leaking
- How to Diagnose the Leak
- Tools and Materials You’ll Need
- Step-by-Step Guide to Fixing a Leaking Faucet
- Preventing Future Leaks
- Winter Preparation for Exterior Faucets
- Different Types of Exterior Faucets and Their Common Issues
- Cost of Fixing vs Replacing a Leaky Faucet
- When to Call a Professional
- Frequently Asked Questions
Common Causes of Exterior Faucet Leaking
Before we dive into the solutions, it’s important to understand why your exterior faucet might be leaking in the first place. Here are some of the most common culprits:
- Worn Out Washers: Over time, the rubber washer inside the faucet can wear out, leading to leaks. This is one of the most frequent reasons for faucet leaks.
- Damaged O-Rings: The O-ring is a small rubber seal that helps keep the faucet tight. If it gets damaged or dislodged, water can escape from the spout.
- Corrosion: Rust and mineral buildup can cause leaks by weakening the faucet’s internal components.
- Freeze Damage: If you live in a colder climate, freezing temperatures can cause pipes to expand and contract, leading to cracks and leaks.
- Loose Connections: Sometimes, the issue is as simple as a loose connection between the faucet and the pipe. Tightening it up can often solve the problem.
Understanding these causes will help you pinpoint the exact issue and find the right solution. Let’s move on to diagnosing the leak.
How to Diagnose the Leak
Step 1: Check the Source of the Leak
The first step in diagnosing an exterior faucet leaking is identifying where the water is coming from. Is it dripping from the spout? Or is it leaking around the base of the faucet? The location of the leak can give you clues about what’s causing it.
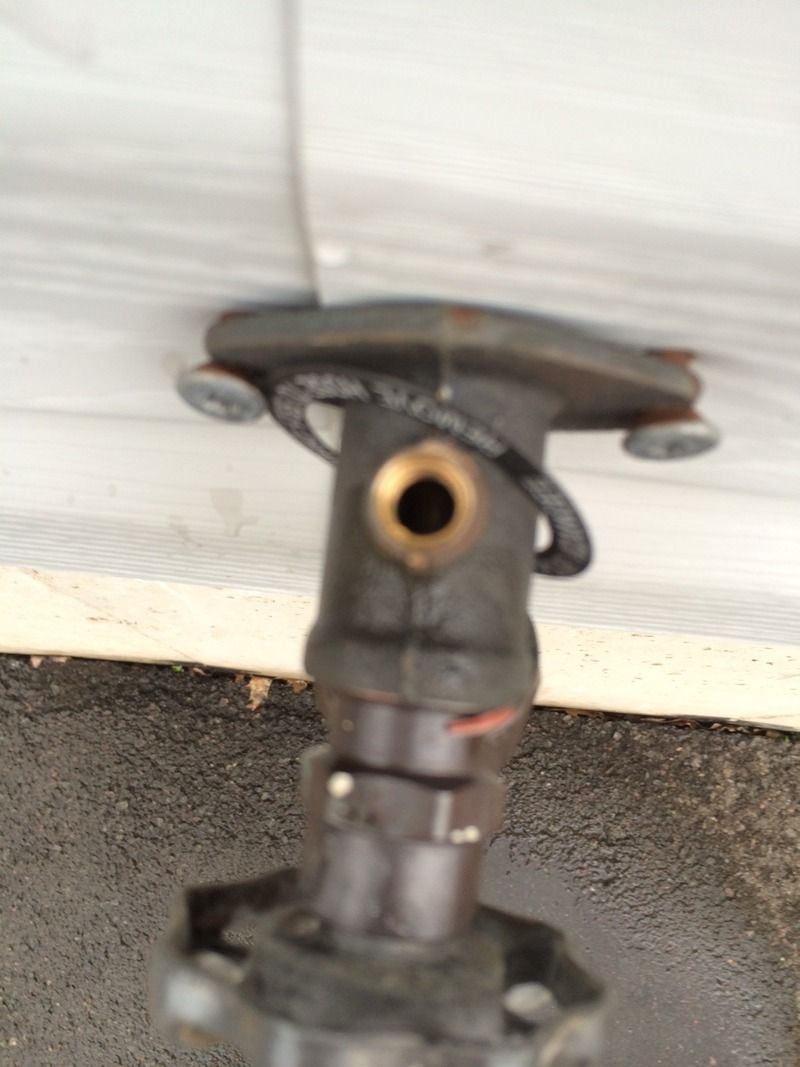
Step 2: Inspect the Faucet Components
Take a closer look at the different parts of the faucet. Look for signs of wear and tear, such as rust, cracks, or loose fittings. Pay special attention to the washer and O-ring, as these are common culprits.
Step 3: Test the Water Pressure
Sometimes, high water pressure can cause leaks by putting too much strain on the faucet’s components. Use a water pressure gauge to check the pressure in your pipes. If it’s above 80 PSI, you may need to install a pressure-reducing valve.
Read also:Miesha Tate Leaked The Inside Story You Need To Know
Once you’ve identified the cause of the leak, it’s time to gather your tools and materials.
Tools and Materials You’ll Need
Fixing a leaking exterior faucet doesn’t require a ton of fancy equipment. Here’s a list of the basic tools and materials you’ll need:
- Adjustable wrench
- Flathead and Phillips screwdrivers
- New washer and O-ring (make sure they match the size of your existing ones)
- Teflon tape
- Plumber’s grease
- Channel-lock pliers
Having the right tools on hand will make the job much easier and faster. Now let’s get into the actual fixing process.
Step-by-Step Guide to Fixing a Leaking Faucet
Step 1: Turn Off the Water Supply
Before you start working on the faucet, make sure to turn off the water supply. This will prevent any unexpected water flow while you’re working. Look for the shut-off valve near the faucet or inside your home.
Step 2: Remove the Faucet Handle
Use a screwdriver to remove the screw that holds the handle in place. If you can’t see the screw, look for a decorative cap that may be covering it. Once the handle is off, you’ll have access to the internal components.
Step 3: Replace the Washer and O-Ring
Remove the old washer and O-ring and take them to the hardware store to ensure you get exact replacements. Apply a bit of plumber’s grease to the new parts before reassembling the faucet.
Step 4: Tighten the Connections
Use an adjustable wrench to tighten the connections between the faucet and the pipe. Be careful not to overtighten, as this can cause damage. Apply Teflon tape to the threads for a better seal.
Step 5: Test the Faucet
Turn the water supply back on and test the faucet. If the leak persists, you may need to replace the entire faucet or consult a professional.
Fixing a leaking faucet is usually a straightforward process, but there are steps you can take to prevent future leaks.
Preventing Future Leaks
Prevention is key when it comes to maintaining your exterior faucets. Here are some tips to help you avoid leaks in the future:
- Regularly inspect your faucets for signs of wear and tear.
- Replace washers and O-rings every few years, even if they don’t appear to be damaged.
- Use Teflon tape on all threaded connections to ensure a tight seal.
- Install frost-proof faucets if you live in a cold climate.
By taking these preventative measures, you can save yourself a lot of hassle down the road.
Winter Preparation for Exterior Faucets
If you live in an area where temperatures drop below freezing, winterizing your exterior faucets is essential. Here’s how you can prepare:
Step 1: Disconnect Hoses
Remove any hoses connected to your exterior faucets and store them indoors. Water trapped in the hose can freeze and cause the faucet to crack.
Step 2: Install Insulating Covers
Use insulating covers or foam sleeves to protect your faucets from the cold. These can be purchased at most hardware stores.
Step 3: Drain the Pipes
Shut off the water supply to the exterior faucets and open the valves to drain any remaining water. This will help prevent freezing and potential damage.
Winterizing your faucets is a simple yet effective way to protect them from freezing temperatures.
Different Types of Exterior Faucets and Their Common Issues
Not all exterior faucets are created equal. Here’s a quick overview of the most common types and their associated problems:
- Compression Faucets: These rely on a washer to stop the water flow. Worn washers are the main cause of leaks.
- Ball Faucets: These use a single handle and a ball mechanism. Common issues include worn O-rings and gaskets.
- Ceramic Disk Faucets: These are known for their durability but can still develop leaks if the seals wear out.
- Frost-Proof Faucets: Designed to prevent freezing, these faucets can still leak if not properly maintained.
Understanding the type of faucet you have will help you address its specific needs and potential issues.
Cost of Fixing vs Replacing a Leaky Faucet
Fixing a leaking faucet is generally more cost-effective than replacing it. The cost of parts, such as washers and O-rings, is usually under $10. However, if the faucet is severely damaged or outdated, it may be worth replacing it altogether.
Replacing a faucet can cost anywhere from $50 to $200, depending on the model and brand. If you’re not comfortable with DIY repairs, hiring a plumber can add additional costs, typically ranging from $100 to $300.
When to Call a Professional
While many faucet leaks can be fixed by homeowners, there are situations where it’s best to call in a professional:
- If the leak persists after attempting repairs.
- If the faucet is severely damaged or outdated.
- If you’re dealing with frozen pipes or extensive water damage.
A professional plumber can diagnose and fix complex issues, ensuring your plumbing system is in top condition.
Frequently Asked Questions
Q: Can I fix a leaking faucet myself?
A: Absolutely! Most leaks can be fixed with basic tools and a little bit of know-how. Just make sure to turn off the water supply before starting.
Q: How often should I check my exterior faucets?
A: It’s a good idea to inspect your faucets at least once a year for signs of wear and tear. This will help you catch potential issues before they become major problems.
Q: What’s the best way to prevent winter damage?
A: Disconnect hoses, install insulating covers, and drain the pipes to protect your faucets from freezing temperatures.
By following the tips and advice in this guide, you’ll be well-equipped to handle any exterior faucet leaking issues that come your way. Remember, a little maintenance can go a long way in keeping your plumbing system in great shape.
So, what are you waiting for? Grab your tools and get to work. And don’t forget to share this article with your friends and family who might be dealing with the same issue. Together, we can put an end to those annoying drips and save both water and money!