Let’s talk about radiator coolant leaks because this is one of those car issues that can sneak up on you like a ninja in the night. You might not notice it at first, but trust me, ignoring it could lead to some serious engine drama. Whether you’re driving a trusty old sedan or a shiny new SUV, your car’s cooling system plays a vital role in keeping everything running smoothly. And when there’s a leak in the coolant system, things can go south faster than you can say “overheating.” So, buckle up, folks, because we’re diving deep into the world of radiator coolant leaks and how to tackle them.
Now, before you panic, let me reassure you that radiator coolant leaks are more common than you think. They happen to the best of us, and with the right knowledge and tools, you can handle them like a pro. In this article, we’ll break down everything you need to know about radiator coolant leaks, from identifying the signs to fixing the problem yourself. Whether you’re a DIY enthusiast or just want to understand what your mechanic is talking about, this guide has got you covered.
Oh, and don’t worry if you’re not a certified mechanic—we’ll keep things simple and straightforward. After all, who needs fancy jargon when you’ve got practical advice? Let’s get started and make sure your car stays cool, literally and figuratively!
Read also:Milo Manheim Leaks Separating Facts From Fiction
What is a Radiator Coolant Leak?
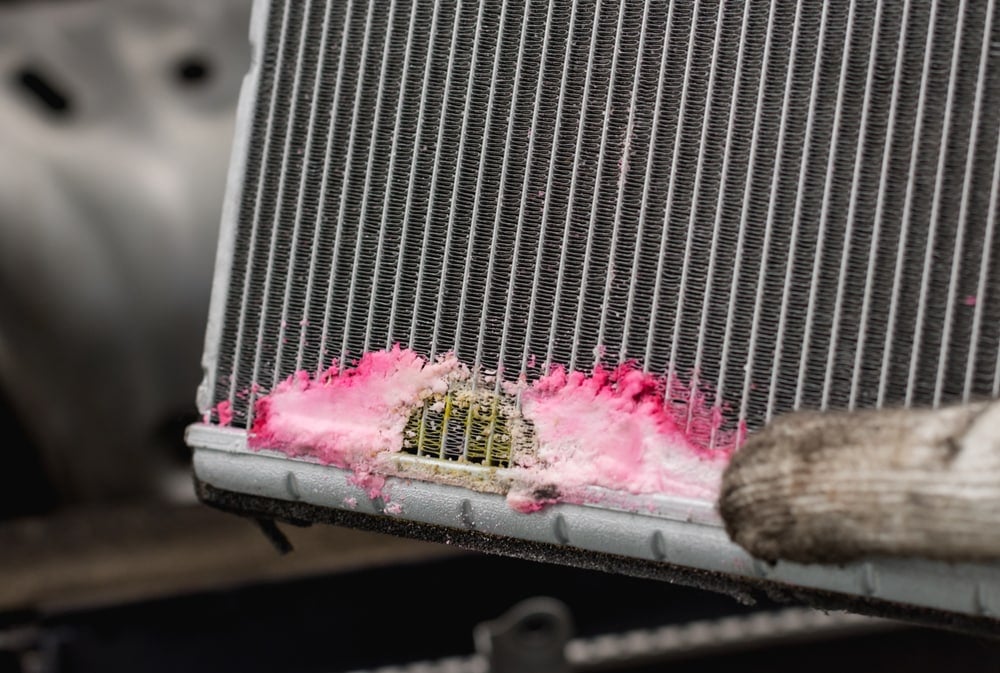
A radiator coolant leak is essentially when the liquid responsible for keeping your engine cool starts escaping from the system. This fluid, also known as antifreeze or engine coolant, travels through your car’s cooling system to absorb heat from the engine and prevent it from overheating. When there’s a leak, the coolant levels drop, which can lead to all sorts of problems, including engine damage.
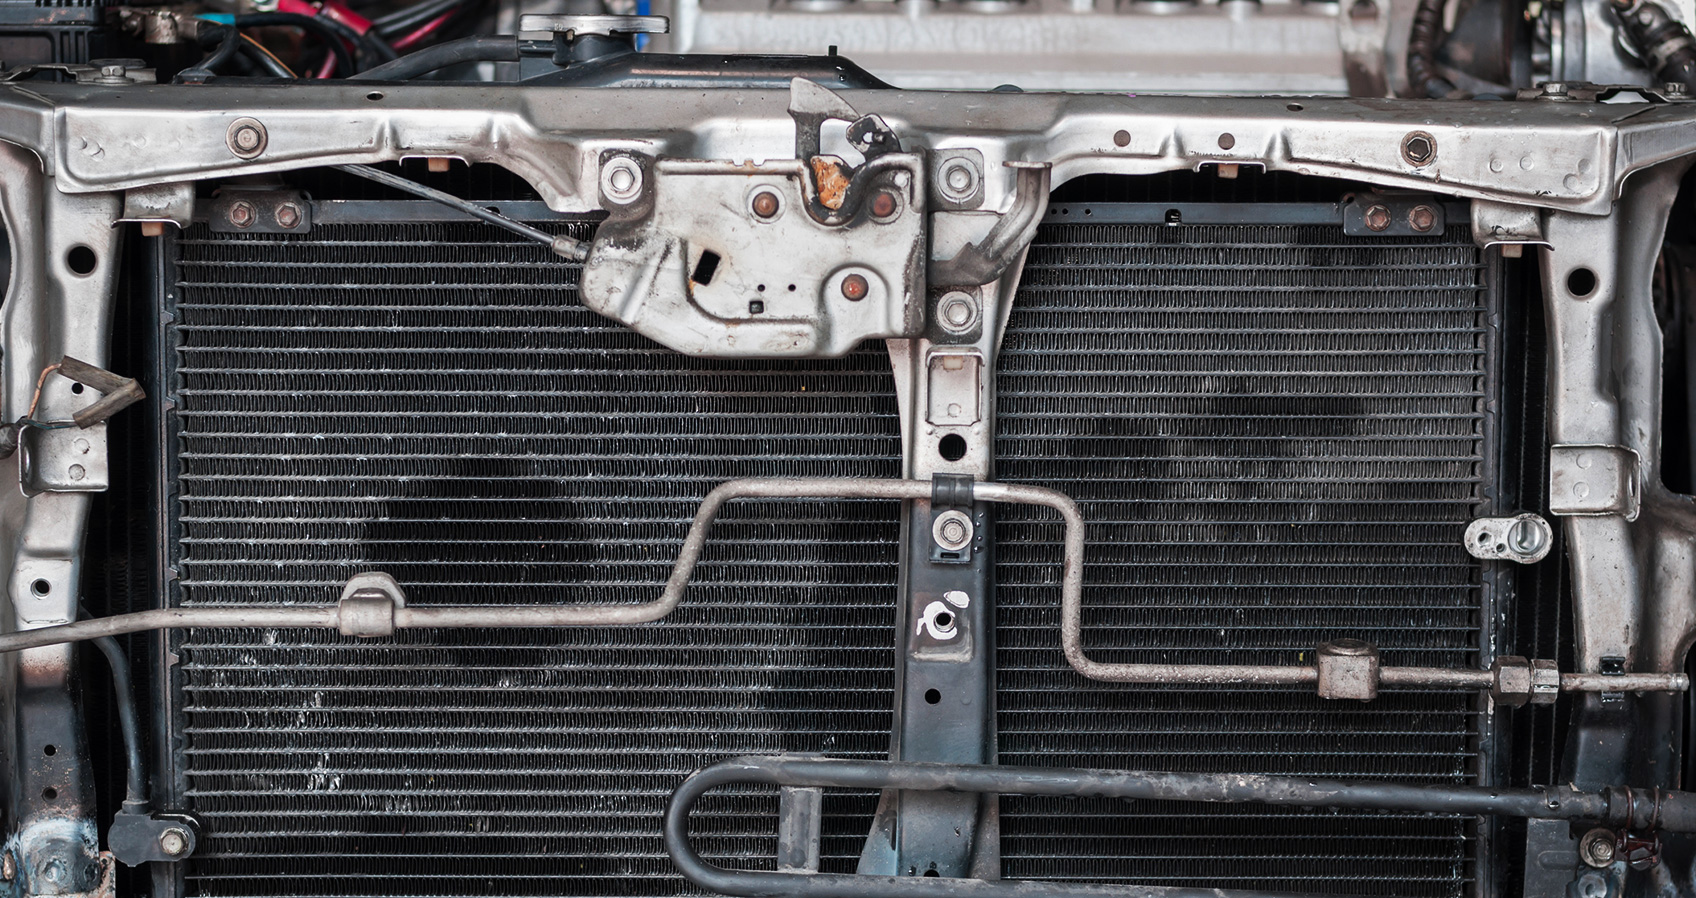
Think of your car’s cooling system as a well-oiled machine. The radiator, water pump, hoses, and thermostat all work together to ensure your engine stays at the perfect temperature. But when a leak occurs, it’s like a crack in the foundation. The system can no longer function properly, and that’s when things start to spiral out of control.
Common Causes of Radiator Coolant Leaks
So, what exactly causes a radiator coolant leak? Well, there are several culprits, and we’ll go over the most common ones. Understanding the root cause is key to fixing the problem and preventing future leaks. Here’s a quick rundown:
- Cracked or damaged radiator
- Worn-out or deteriorated hoses
- Loose or corroded connections
- Failed water pump seals
- Leaking radiator cap
- Corrosion in the cooling system
As you can see, there are plenty of potential causes, and each one requires a different approach to fix. That’s why it’s important to identify the exact source of the leak before attempting any repairs.
Signs of a Radiator Coolant Leak
Before we dive into solutions, let’s talk about how to spot a radiator coolant leak. The earlier you catch it, the easier it is to fix. Here are some telltale signs to look out for:
- Low coolant levels in the overflow tank
- Puddles of green, orange, or yellow fluid under your car
- Overheating engine
- Steam or smoke coming from the engine
- Unusual sounds, such as hissing or bubbling
If you notice any of these symptoms, it’s time to take action. Ignoring them could lead to costly repairs down the road. Trust me, your wallet will thank you for catching the leak early.
Read also:Angel Fernandez Leak The Untold Story You Need To Know
How to Diagnose a Radiator Coolant Leak
Now that you know what to look for, let’s talk about how to diagnose a radiator coolant leak. This step is crucial because it helps you pinpoint the exact location of the leak. Here’s a step-by-step guide to help you out:
Step 1: Check the Coolant Level
Start by checking the coolant level in your overflow tank. If it’s consistently low, even after refilling, chances are you’ve got a leak on your hands. Make sure the tank is cool before opening it to avoid any burns.
Step 2: Inspect the Radiator
Next, take a closer look at the radiator itself. Look for any visible cracks, rust, or corrosion. These can all contribute to leaks. If you’re not sure, shine a flashlight on the radiator to get a better view.
Step 3: Examine the Hoses
Don’t forget to check the radiator hoses. Over time, they can become brittle and develop cracks, which can lead to leaks. Squeeze the hoses gently to feel for any soft spots or bulges. If you find any, it’s time to replace them.
Step 4: Test the Radiator Cap
A leaking radiator cap might not seem like a big deal, but it can cause major issues. To test it, remove the cap and submerge it in a bucket of water. Pressurize it using a radiator cap tester and watch for bubbles. If you see any, the cap is faulty and needs to be replaced.
Fixing a Radiator Coolant Leak
Once you’ve identified the source of the leak, it’s time to fix it. Depending on the severity of the problem, you might be able to handle it yourself or need to call in a professional. Here are some common fixes:
Replacing a Damaged Radiator
If the radiator itself is cracked or severely damaged, you’ll need to replace it. This is a more involved repair, so it’s best to leave it to a mechanic unless you’re experienced with car repairs.
Repairing or Replacing Hoses
For hose-related leaks, the solution is usually straightforward. Simply replace the damaged hose with a new one. Make sure to use the correct size and type for your vehicle.
Sealing Leaks with Coolant Additives
In some cases, you can use a coolant additive to temporarily seal small leaks. These products work by creating a barrier inside the cooling system to stop the leak. Keep in mind that this is only a temporary fix and should be followed up with a permanent solution.
Preventing Future Coolant Leaks
Prevention is always better than cure, and that’s especially true when it comes to radiator coolant leaks. Here are some tips to help you avoid leaks in the future:
- Regularly check your coolant levels and top them up as needed
- Inspect your radiator and hoses during routine maintenance
- Replace worn-out parts before they fail
- Use high-quality coolant and follow the manufacturer’s recommendations
By staying on top of your car’s maintenance, you can catch potential issues before they become major problems. It’s a small investment of time and money that can save you a lot of headaches in the long run.
The Cost of Fixing a Radiator Coolant Leak
Let’s talk about the elephant in the room: cost. How much does it cost to fix a radiator coolant leak? Well, that depends on the severity of the leak and the required repairs. Here’s a rough estimate:
- Hose replacement: $20-$100
- Radiator cap replacement: $10-$50
- Radiator replacement: $300-$800
- Water pump repair: $400-$1,000
As you can see, the costs can vary widely. If you catch the leak early, you’ll save yourself a lot of money. That’s why regular maintenance is so important.
DIY vs Professional Repair
Should you attempt to fix the leak yourself or leave it to the professionals? That’s a question only you can answer. If you’re comfortable working on cars and have the necessary tools, a DIY repair can save you money. However, if the repair involves replacing the radiator or water pump, it’s probably best to let a mechanic handle it.
Remember, safety always comes first. If you’re unsure about any part of the repair, don’t hesitate to seek professional help. It’s better to be safe than sorry.
Conclusion: Keep Your Cool
There you have it, folks. Everything you need to know about radiator coolant leaks. From identifying the signs to fixing the problem, we’ve covered it all. Remember, catching a leak early can save you a lot of hassle and money in the long run.
So, the next time you notice a puddle under your car or your engine starts overheating, don’t panic. Follow the steps we’ve outlined, and you’ll be back on the road in no time. And don’t forget to share this article with your friends and family. After all, knowledge is power, and the more people know about radiator coolant leaks, the better prepared they’ll be to handle them.
Until next time, stay cool and keep those engines running smoothly!
Table of Contents