Are you tired of seeing that pesky green, orange, or pink puddle under your car? Yeah, that’s probably leaking antifreeze, and it’s not something you want to ignore. Leaking antifreeze fix is crucial because it affects your vehicle’s cooling system, and neglecting it can lead to serious engine damage. But don’t panic just yet! In this guide, we’ll walk you through everything you need to know about identifying and fixing antifreeze leaks. So, buckle up and let’s dive in!
Fixing a leaking antifreeze problem isn’t rocket science, but it does require some know-how and patience. Whether you’re a seasoned mechanic or a complete newbie, this article will arm you with the tools and knowledge to tackle the issue head-on. From diagnosing the source of the leak to performing DIY fixes, we’ve got all the bases covered.
But before we get into the nitty-gritty, let’s address why this matters. Your car’s cooling system is like its lifeline. Antifreeze, also known as coolant, prevents your engine from overheating in the summer and freezing in the winter. If you ignore a leak, you’re setting yourself up for potential disaster. So, let’s make sure that doesn’t happen, shall we?
Read also:Joell Perry Leak The Untold Story Facts And What You Need To Know
Table of Contents
- What Is Antifreeze?
- Common Causes of Antifreeze Leaks
- How to Diagnose an Antifreeze Leak
- Tools You’ll Need for the Fix
- Step-by-Step Guide to Fixing Antifreeze Leaks
- Cost Considerations for Antifreeze Leak Repairs
- Tips for Preventing Future Leaks
- Frequently Asked Questions
- Conclusion
What Is Antifreeze?
Let’s start with the basics. Antifreeze, or coolant, is a liquid that circulates through your engine’s cooling system to regulate temperature. It prevents your engine from overheating during hot weather and freezing during cold weather. Without antifreeze, your engine would quickly overheat, leading to costly repairs or even total engine failure.
Antifreeze comes in different colors, including green, orange, and pink. The color doesn’t necessarily indicate quality; instead, it helps you identify the type of coolant. Modern vehicles often use specific types of antifreeze, so always check your owner’s manual to ensure you’re using the right one.
Why Is Antifreeze Important?
Your engine generates a lot of heat, and if that heat isn’t managed properly, it can cause serious damage. Antifreeze absorbs the heat from the engine and dissipates it through the radiator. Without a properly functioning cooling system, your engine could overheat, warp, or even seize up. Not cool, right?
Common Causes of Antifreeze Leaks
Antifreeze leaks can happen for a variety of reasons. Here are some of the most common culprits:
- Cracked or damaged hoses
- Worn-out radiator
- Blown head gasket
- Leaking water pump
- Corroded radiator cap
- Failed heater core
Each of these issues requires a different approach to fix, so it’s important to identify the root cause before attempting any repairs.
How to Spot a Leak
Here are a few signs that you might have an antifreeze leak:
Read also:Katie Cassidy Leaked Unveiling The Truth Behind The Controversy
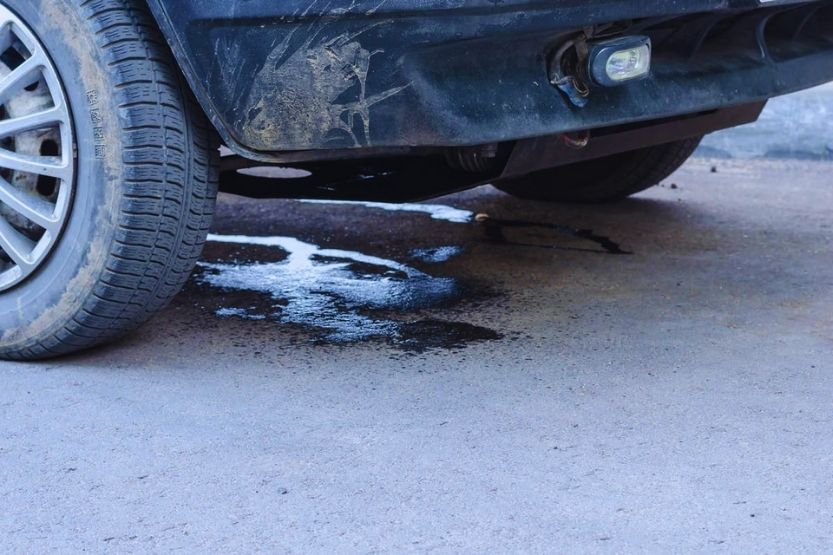
- Puddles of colored liquid under your car
- Overheating engine
- Low coolant levels
- Sweet smell coming from your engine
If you notice any of these symptoms, it’s time to investigate further.
How to Diagnose an Antifreeze Leak
Diagnosing an antifreeze leak can be tricky, but with the right tools and techniques, you can pinpoint the source. Here’s how:
Visual Inspection
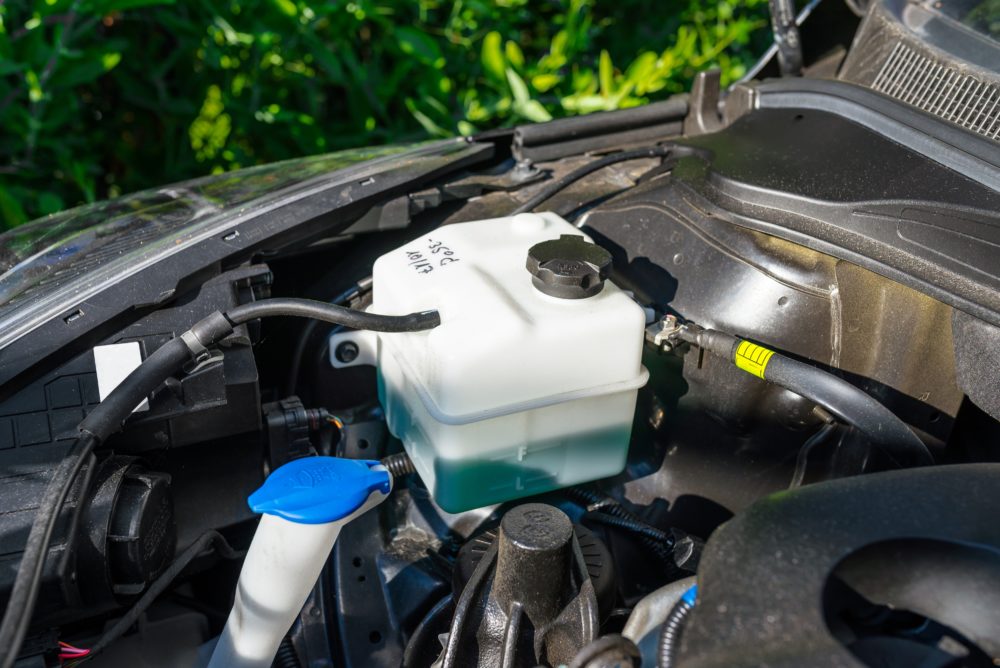
Start by visually inspecting your engine bay. Look for signs of dampness or discoloration around hoses, connections, and the radiator. You might also want to check the ground beneath your car for any leaks.
Pressure Test
A pressure test is one of the most effective ways to find leaks. This involves pressurizing your cooling system and observing where the pressure escapes. You can buy a cooling system pressure tester at most auto parts stores.
UV Dye Test
Another method is to add a UV dye to your coolant and use a UV light to detect leaks. This can be especially helpful for pinpointing small leaks that are hard to see with the naked eye.
Tools You’ll Need for the Fix
Before you dive into fixing your antifreeze leak, make sure you have the right tools. Here’s a list of essentials:
- Cooling system pressure tester
- Socket set
- Wrenches
- Coolant flush kit
- New hoses, gaskets, or radiators (if needed)
- UV dye and light (optional)
Having the right tools will make the job easier and more efficient.
Step-by-Step Guide to Fixing Antifreeze Leaks
Now that you’ve diagnosed the issue, it’s time to fix it. Follow these steps for a successful repair:
Step 1: Locate the Leak
Use the methods we discussed earlier to find the source of the leak. This is the most critical step, as fixing the wrong part won’t solve the problem.
Step 2: Drain the Coolant
Once you’ve located the leak, drain the coolant from your system. Make sure to dispose of it properly, as antifreeze is toxic to animals and the environment.
Step 3: Replace Damaged Components
Depending on the source of the leak, you might need to replace hoses, gaskets, or even the radiator. Follow the manufacturer’s instructions carefully to ensure a proper installation.
Step 4: Refill the System
After replacing the damaged components, refill your cooling system with the appropriate type of antifreeze. Make sure to bleed the system to remove any air pockets.
Step 5: Test the System
Finally, test your cooling system to ensure the leak has been fixed. Take your car for a short drive and monitor the temperature gauge. If everything looks good, you’re good to go!
Cost Considerations for Antifreeze Leak Repairs
The cost of fixing an antifreeze leak can vary depending on the severity of the issue. Here’s a rough breakdown:
- Hose replacement: $50-$150
- Radiator replacement: $300-$800
- Water pump replacement: $400-$1,000
- Head gasket repair: $1,000-$2,000
As you can see, some repairs can get pretty pricey. That’s why it’s important to address leaks as soon as you notice them.
Tips for Preventing Future Leaks
While you can’t completely eliminate the risk of leaks, there are steps you can take to reduce the likelihood:
- Regularly check your coolant levels
- Inspect hoses and connections for signs of wear
- Change your coolant according to the manufacturer’s recommendations
- Have your cooling system professionally inspected during routine maintenance
A little prevention goes a long way in keeping your car running smoothly.
Frequently Asked Questions
Q: Can I drive my car with an antifreeze leak?
A: Not recommended. Driving with a leak can lead to overheating, which can cause severe engine damage. Get it fixed as soon as possible.
Q: How often should I change my antifreeze?
A: Most manufacturers recommend changing your antifreeze every 30,000 to 60,000 miles, but always check your owner’s manual for specifics.
Q: Can I mix different types of antifreeze?
A: It’s best to avoid mixing different types of antifreeze, as they can react chemically and cause damage to your cooling system.
Conclusion
Leaking antifreeze fix might seem intimidating, but with the right knowledge and tools, you can tackle it like a pro. Remember, early detection and prompt action are key to preventing costly repairs. By following the steps outlined in this guide, you’ll be able to diagnose and fix antifreeze leaks with confidence.
So, what are you waiting for? Grab those tools and get to work! And don’t forget to share this article with your fellow car enthusiasts. Together, we can keep our rides running smoothly. Stay tuned for more tips and tricks to keep your car in top shape!