Have you ever woken up in the middle of the night hearing that annoying drip-drip-drip from your bath tap? Yeah, we’ve all been there. A leaking bath tap isn’t just an irritation; it can also waste tons of water and jack up your utility bills. But here’s the good news: fixing a leaking bath tap isn’t rocket science. With the right tools, some know-how, and a bit of patience, you can get it done in no time.
Now, before you call the plumber and spend a fortune, why not try your hand at fixing it yourself? Not only will you save money, but you’ll also gain a sense of accomplishment. Plus, it’s a skill that’ll come in handy if you ever find yourself in a pinch. Let’s dive into how to fix a leaking bath tap and make sure your bathroom is back in working order.
Whether you’re a seasoned DIY expert or a complete beginner, this guide is designed to walk you through every step of the process. From identifying the problem to getting your hands dirty, we’ve got you covered. So grab your toolkit, roll up your sleeves, and let’s get started!
Read also:Deshae Frost Leaked The Inside Story You Need To Know
Table of Contents
- Understanding the Problem
- Tools You Need
- Common Reasons for a Leaking Tap
- Step-by-Step Guide to Fix a Leaking Bath Tap
- Precautions to Take
- Troubleshooting Tips
- Preventive Maintenance
- Cost Savings
- When to Call a Plumber
- Final Thoughts
Understanding the Problem
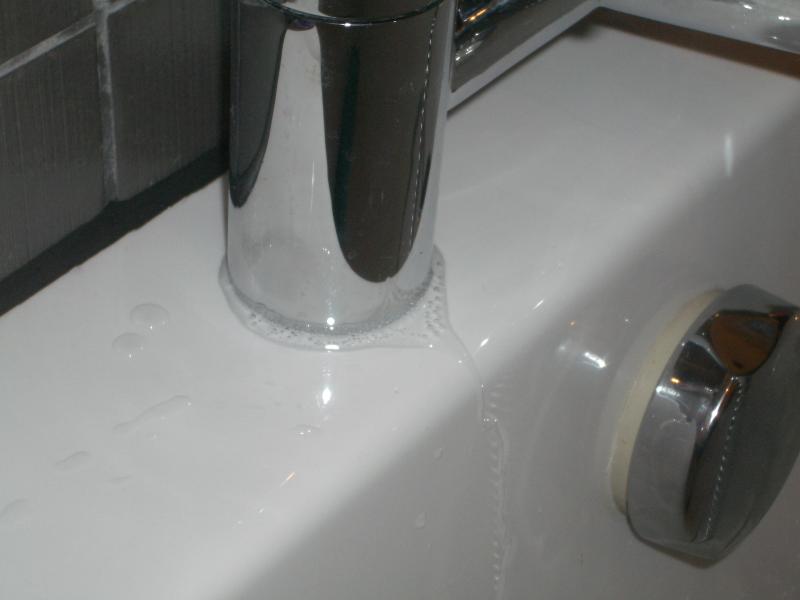
Let’s be honest, a leaking bath tap isn’t just about wasting water. It’s also about the frustration of seeing your hard-earned cash literally going down the drain. But before you jump into fixing it, it’s important to understand what’s causing the leak in the first place.
Most leaks happen because of wear and tear. Over time, the internal components of your tap can get damaged, leading to that dreaded drip. Sometimes, it’s as simple as a worn-out washer or O-ring. Other times, it could be a more serious issue like a corroded valve seat or a damaged cartridge. Either way, figuring out the root cause is key to fixing the problem.
Signs Your Bath Tap Needs Attention
Here are a few signs that your bath tap might need some TLC:
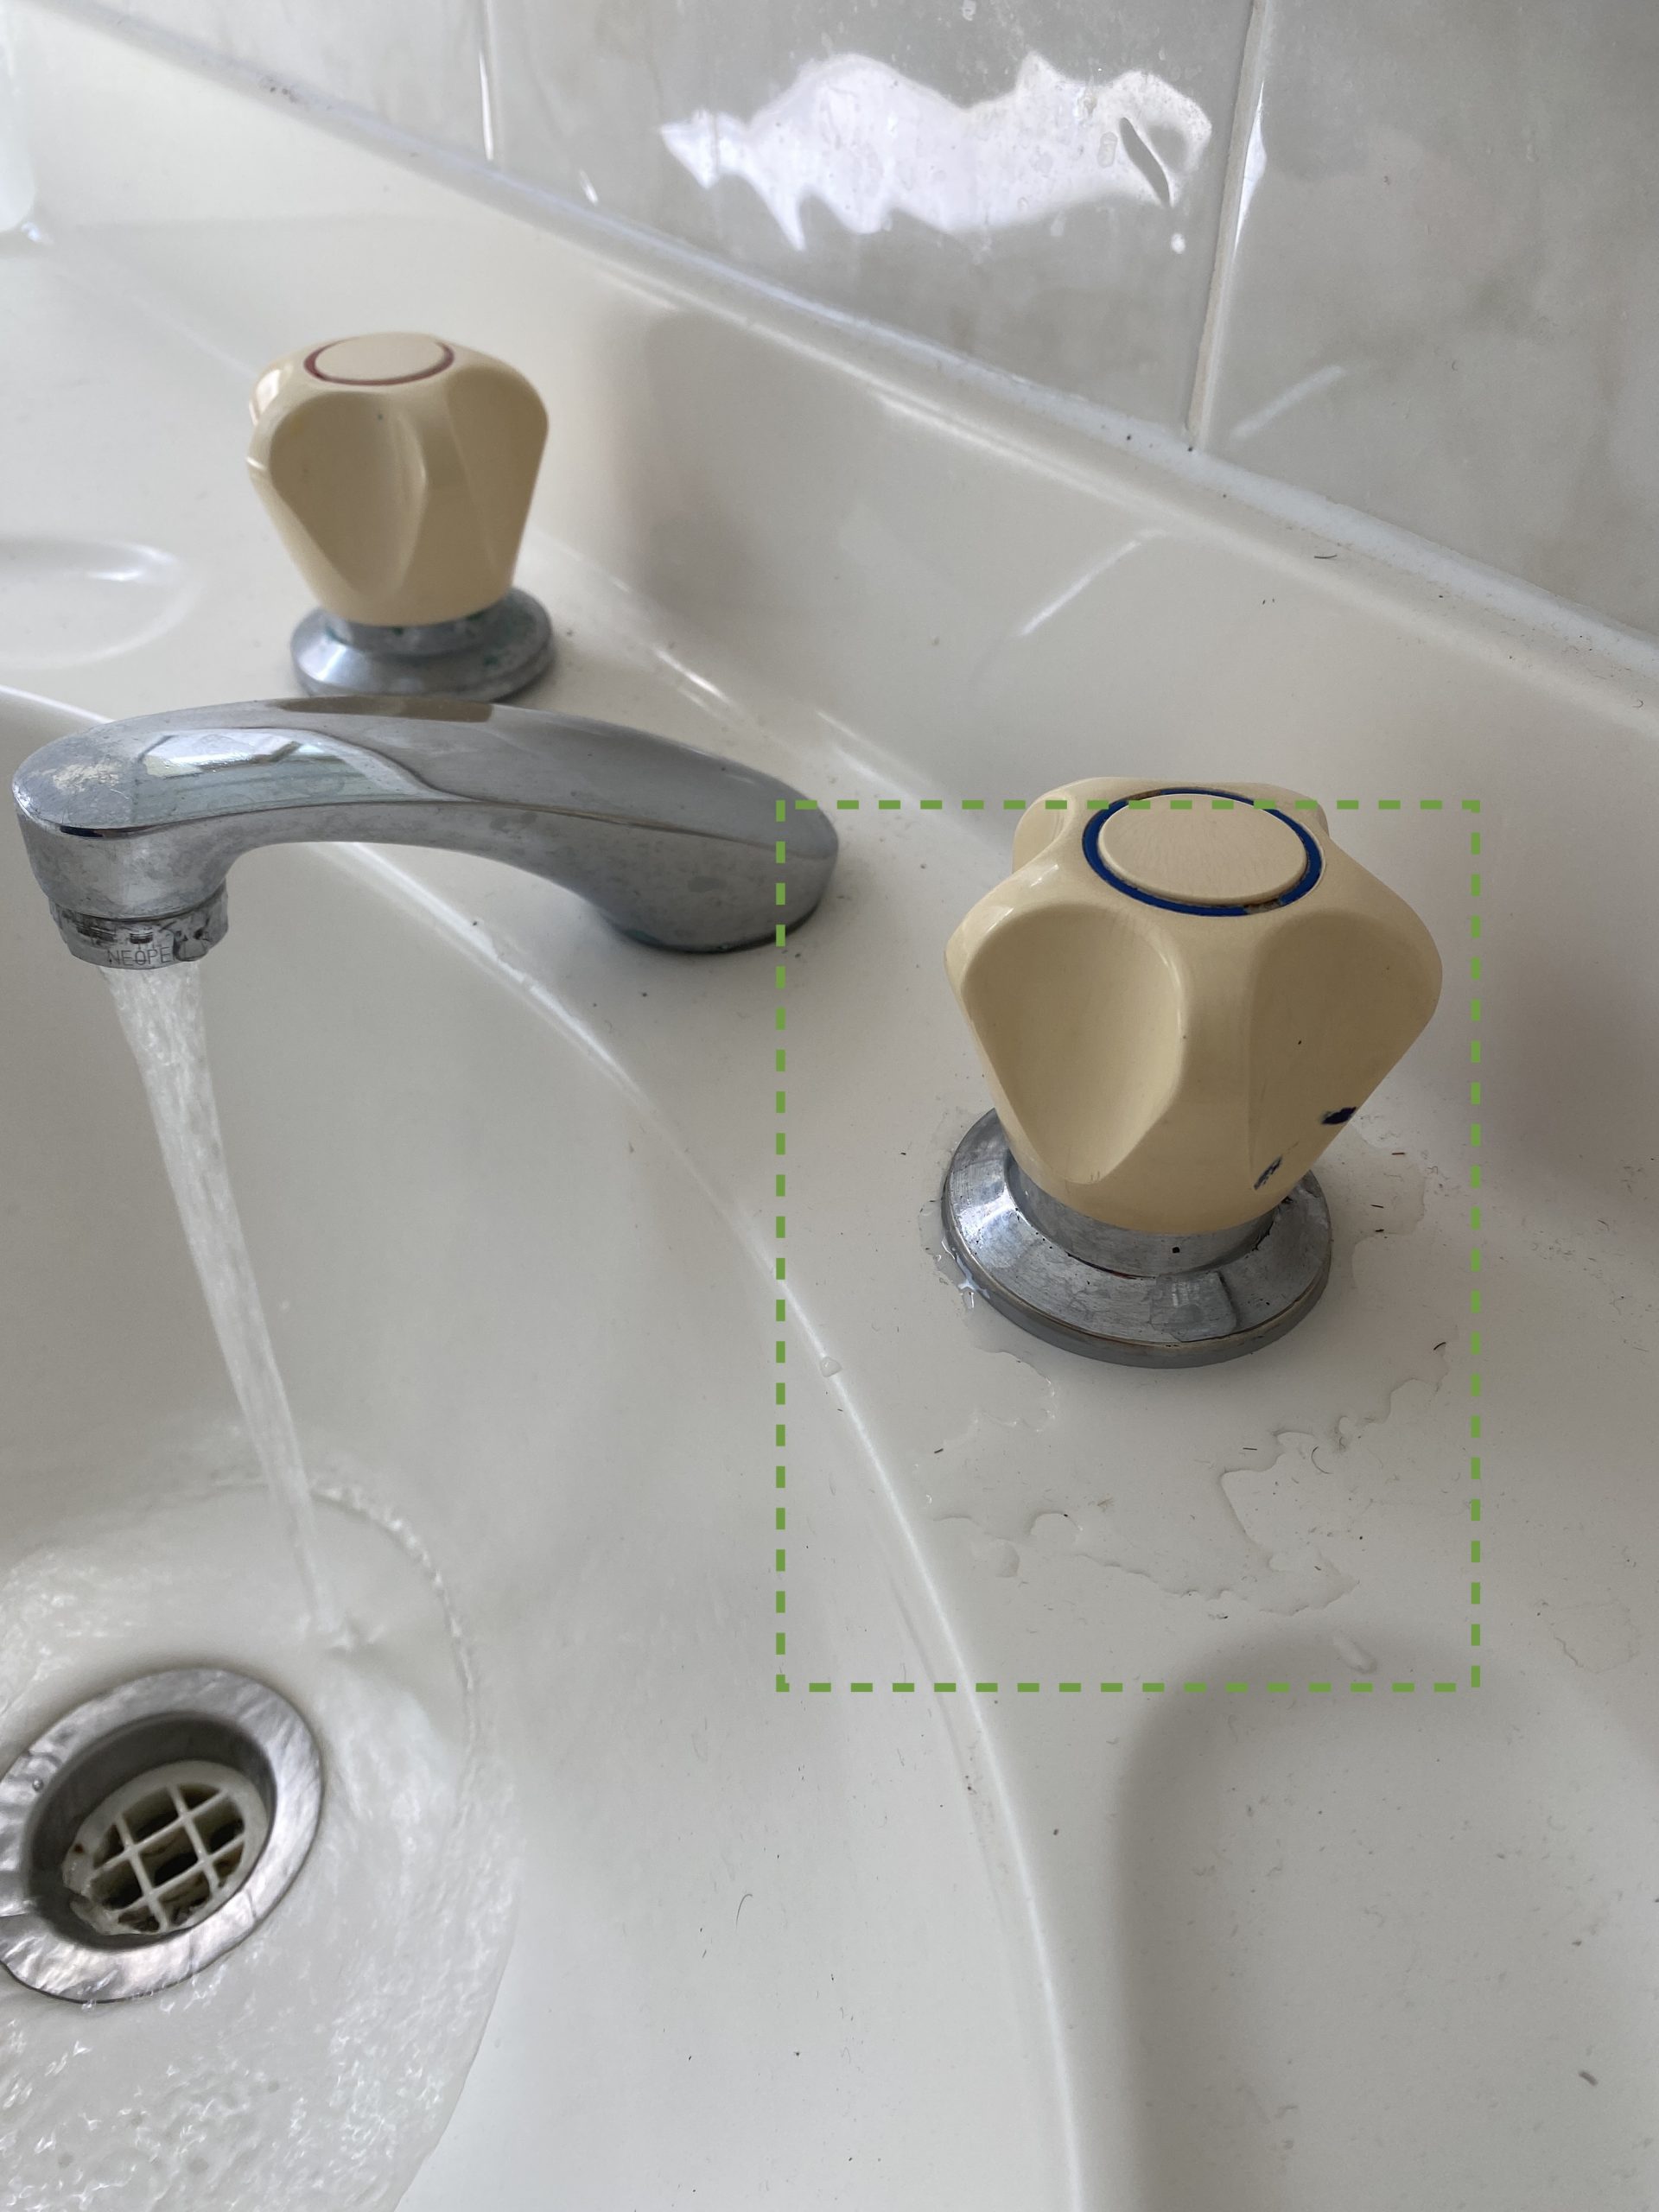
- A steady drip even when the tap is fully closed
- Water spraying out from the handle or base
- Noisy water flow when the tap is turned on
- Visible corrosion or mineral buildup around the tap
Tools You Need
Fixing a leaking bath tap doesn’t require a fancy toolkit. In fact, most of the tools you’ll need are probably already lying around your house. Here’s a quick rundown of what you’ll need:
- Adjustable wrench
- Screwdriver (Phillips or flathead, depending on your tap)
- Plumber’s grease
- New washers or O-rings (if needed)
- Replacement cartridge (if your tap uses one)
- Towel or cloth to catch water and protect surfaces
Pro tip: If you’re unsure about what parts to buy, take a picture of your tap to the hardware store. The staff there can help you find the right replacements.
Common Reasons for a Leaking Tap
Now that you’ve got your tools ready, let’s talk about the common culprits behind a leaking bath tap. Understanding these issues will make the fixing process a whole lot easier.
Read also:Autumn Ivy Leaked The Story Behind The Viral Sensation
Worn-Out Washers
One of the most common reasons for a leaking tap is a worn-out washer. Over time, the constant friction between the washer and the valve seat can cause it to degrade. Replacing the washer is usually a quick fix and can stop the leak in its tracks.
Corroded Valve Seat
If the washer replacement doesn’t do the trick, the problem might lie with the valve seat. A corroded valve seat can prevent the tap from sealing properly, leading to leaks. In this case, you’ll need to either replace the valve seat or consider a more extensive repair.
Step-by-Step Guide to Fix a Leaking Bath Tap
Ready to roll up your sleeves? Here’s a step-by-step guide to fixing that pesky leaking bath tap:
Step 1: Turn Off the Water Supply
Before you start tinkering with your tap, make sure to turn off the water supply. This is crucial to avoid any water gushing out while you work. Look for the shut-off valve under the sink or near the main water supply.
Step 2: Remove the Tap Handle
Using a screwdriver, gently unscrew the handle of the tap. Some taps may have a decorative cap that hides the screw, so check for that first. Once the handle is off, you’ll have access to the internal components.
Step 3: Inspect and Replace the Washer
Take a close look at the washer. If it’s worn out or damaged, replace it with a new one. Make sure to choose a washer that matches the size and type of your tap.
Step 4: Check the O-Ring
If the washer isn’t the issue, check the O-ring. A worn-out O-ring can also cause leaks. Replace it if necessary and apply a bit of plumber’s grease to ensure a smooth fit.
Step 5: Reassemble the Tap
Once you’ve replaced the necessary parts, reassemble the tap in the reverse order. Tighten everything securely but be careful not to over-tighten, as this can cause damage.
Step 6: Test the Tap
Turn the water supply back on and test the tap. If the leak is gone, congratulations! You’ve successfully fixed your bath tap. If not, it might be time to dig deeper.
Precautions to Take
While fixing a leaking bath tap is generally safe, there are a few precautions you should keep in mind:
- Always turn off the water supply before starting any repairs
- Use gloves to protect your hands from sharp edges or chemicals
- Be gentle when handling delicate parts to avoid causing further damage
- Keep a towel handy to catch any water that might spill during the process
Troubleshooting Tips
Even the best-laid plans can sometimes go awry. If you’re still having trouble with your bath tap, here are a few troubleshooting tips:
Check for Mineral Buildup
Mineral deposits can sometimes clog the tap and cause leaks. Try soaking the tap in vinegar to dissolve any buildup. If that doesn’t work, you might need to clean the aerator.
Inspect the Cartridge
If your tap uses a cartridge, it might be the source of the problem. Cartridges can wear out over time, so replacing them might be necessary. Make sure to get the right type of cartridge for your tap.
Preventive Maintenance
Prevention is always better than cure. Here are a few tips to keep your bath tap in tip-top shape:
- Regularly clean the tap to prevent mineral buildup
- Check for leaks periodically and address them promptly
- Use a water softener if you live in a hard water area
- Replace worn-out parts before they cause major issues
Cost Savings
Fixing a leaking bath tap yourself can save you a ton of money. Plumbers can charge an arm and a leg for even the simplest repairs. By doing it yourself, you not only avoid those costs but also save on water bills by preventing leaks.
Did you know that a single dripping tap can waste up to 20 gallons of water per day? Multiply that by the number of taps in your home, and you’re looking at significant savings. Plus, you’ll be doing your part for the environment by conserving water.
When to Call a Plumber
While most leaks can be fixed with a bit of DIY know-how, there are times when it’s best to call in the professionals. If you’ve tried everything and the leak persists, or if the damage is more extensive than you anticipated, it might be time to bring in a plumber.
Remember, a plumber’s expertise can save you from making costly mistakes. They have the tools and knowledge to tackle even the trickiest plumbing issues.
Final Thoughts
Fixing a leaking bath tap might seem intimidating at first, but with the right approach, it’s a task that anyone can tackle. Not only will you save money, but you’ll also gain a valuable skill that’ll come in handy time and again.
So next time you hear that annoying drip, don’t reach for the phone just yet. Grab your toolkit and give it a shot. Who knows? You might just discover a hidden talent for DIY plumbing.
And remember, if you ever need more tips or advice, feel free to drop a comment or share this article with your friends. Let’s keep those taps leak-free and our wallets happy!