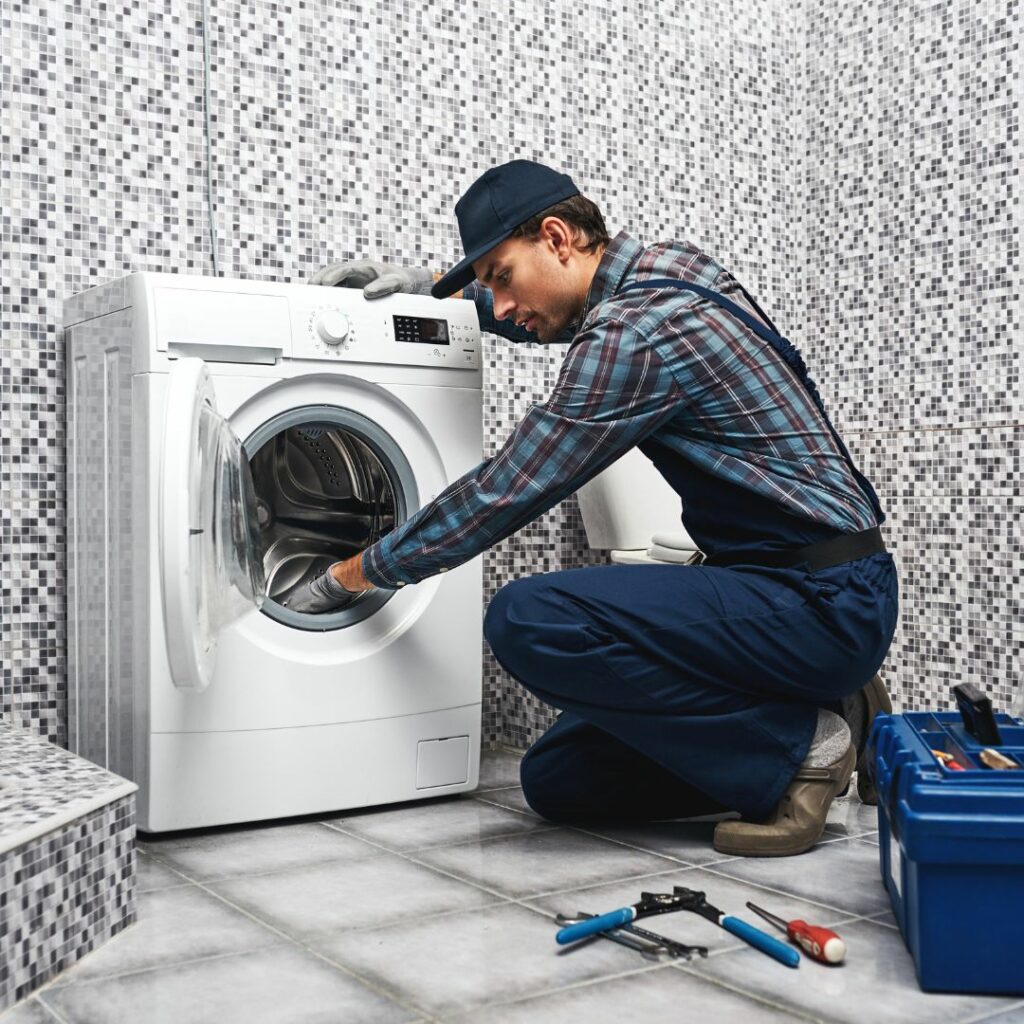
Picture this: you’re enjoying your day when suddenly you spot a pool of water under your washing machine. Panic sets in as you wonder, why would a washing machine leak from underneath? Trust me, you’re not alone. This is one of the most common issues homeowners face, and it can be caused by several factors. But don’t sweat it—this guide will help you identify the problem and fix it before it becomes a major headache.
Leaking washing machines are more than just an inconvenience; they can cause serious damage to your floors, walls, and even your wallet. Understanding why your washing machine might be leaking from underneath is the first step toward preventing costly repairs. Whether you’re a seasoned DIY enthusiast or a complete beginner, this article will walk you through everything you need to know.
From worn-out hoses to clogged drain pipes, we’ll cover all the possible culprits behind those pesky leaks. So, grab a towel, roll up your sleeves, and let’s dive into the world of washing machine troubleshooting. Your sanity (and your floor) will thank you later!
Read also:Gypsy Rose Crime Scene Photos Leaked The Shocking Truth Unveiled
Understanding the Basics: What Causes a Washing Machine to Leak?
Before we dive into the specifics, let’s take a moment to understand why washing machines leak in the first place. A washing machine is a complex appliance with multiple components that work together to clean your clothes. Over time, these parts can wear out, become damaged, or simply malfunction, leading to leaks. Here are some of the most common reasons why your washing machine might be leaking:
- Worn-out hoses
- Cracked or damaged tub
- Clogged drain pipes
- Loose or damaged connections
- Malfunctioning water inlet valve
These issues might sound intimidating, but with the right tools and knowledge, you can tackle them head-on. Let’s break down each potential cause in more detail so you can pinpoint the problem and find a solution.
Heading Straight to the Source: Why Would a Washing Machine Leak from Underneath?
When your washing machine leaks from underneath, it’s usually a sign that something is wrong with the internal components or the drainage system. While leaks can occur from various parts of the machine, leaks from underneath are often related to issues with the bottom or base of the appliance. Here’s what you need to know:
Common Culprits of Underneath Leaks
One of the most common reasons for leaks from underneath is a damaged pump or pump hose. The pump is responsible for draining water from the tub during the spin cycle. If the pump or its hose becomes clogged or cracked, water can escape and pool under the machine. Another possibility is a damaged or misaligned drain pipe, which can cause water to back up and leak out.
Additionally, leaks from underneath can be caused by a faulty water inlet valve. This valve controls the flow of water into the machine, and if it malfunctions, it can lead to excessive water pressure and leaks. It’s also worth checking the seals around the drum and door (for front-loading machines) to ensure they’re in good condition.
Step-by-Step Guide: How to Diagnose a Washing Machine Leak
Now that you know the possible causes, it’s time to roll up your sleeves and diagnose the issue. Here’s a step-by-step guide to help you identify the source of the leak:
Read also:Alex Cooper Leaked The Untold Story Behind The Headlines
Step 1: Turn Off the Power and Water Supply
Safety first! Before you start troubleshooting, make sure to turn off the power supply to the washing machine. You should also shut off the water valves to prevent any further leaks while you’re working.
Step 2: Inspect the Hoses
Check the hoses for any signs of wear and tear, such as cracks, bulges, or leaks. If you notice any damage, replace the hoses immediately. It’s also a good idea to check the connections at both ends of the hose to ensure they’re tight and secure.
Step 3: Examine the Drain Pipe
Take a look at the drain pipe to see if it’s clogged or damaged. A clogged drain pipe can cause water to back up and leak out. If you notice any obstructions, use a plumber’s snake or a similar tool to clear the blockage.
Step 4: Check the Pump and Pump Hose
Inspect the pump and its hose for any signs of damage or clogs. If you notice any issues, you may need to replace the pump or hose. This is a more advanced repair, so if you’re not comfortable doing it yourself, consider calling a professional technician.
Tools and Materials You’ll Need
Before you start troubleshooting, make sure you have the right tools and materials on hand. Here’s a list of what you’ll need:
- Screwdriver
- Plumber’s snake
- Replacement hoses (if needed)
- Bucket or towels to catch water
- Owner’s manual (for reference)
Having these tools on hand will make the troubleshooting process much smoother and help you avoid unnecessary trips to the hardware store.
Preventative Maintenance: Keeping Your Washing Machine Leak-Free
Prevention is key when it comes to washing machine leaks. Regular maintenance can help you catch potential issues before they turn into major problems. Here are some tips to keep your washing machine in top condition:
Tip 1: Replace Hoses Every 5 Years
Even if your hoses look fine, it’s a good idea to replace them every 5 years. Over time, hoses can weaken and become more prone to leaks. Replacing them regularly is a simple and cost-effective way to prevent unexpected issues.
Tip 2: Clean the Drain Pipe Regularly
Debris and lint can build up in the drain pipe over time, leading to clogs and leaks. To prevent this, clean the drain pipe every few months using a plumber’s snake or a similar tool.
Tip 3: Check for Signs of Wear and Tear
Regularly inspect your washing machine for any signs of wear and tear, such as cracks, leaks, or loose connections. Addressing these issues early can save you a lot of hassle down the road.
Cost of Repairs: What You Need to Know
Fixing a leaking washing machine can range from a simple DIY job to a more complex repair that requires professional assistance. Here’s a breakdown of the potential costs:
Cost of Replacement Parts
Replacement parts such as hoses, pumps, and water inlet valves can cost anywhere from $10 to $100, depending on the make and model of your machine. If you’re comfortable doing the repair yourself, this can be a cost-effective solution.
Cost of Professional Services
If you’re not comfortable tackling the repair yourself, you may need to call a professional technician. Depending on the severity of the issue, this can cost anywhere from $100 to $300, not including the cost of parts.
When to Replace Your Washing Machine
While some leaks can be fixed with a simple repair, others may indicate that it’s time to replace your washing machine altogether. If your machine is more than 10 years old or if the repairs are more expensive than the cost of a new machine, it might be time to upgrade. Newer models are often more energy-efficient and come with advanced features that can save you money in the long run.
Conclusion: Take Action Now!
So, why would a washing machine leak from underneath? As we’ve seen, there are several potential causes, from worn-out hoses to damaged pumps. By following the steps outlined in this guide, you can diagnose and fix the issue before it becomes a major problem. Remember to prioritize preventative maintenance to keep your washing machine in top condition and avoid unexpected leaks.
If you found this article helpful, I’d love to hear your thoughts in the comments below. And don’t forget to share this guide with your friends and family who might be dealing with similar issues. Together, we can keep those washing machines running smoothly and those floors dry!
Table of Contents:
- Understanding the Basics: What Causes a Washing Machine to Leak?
- Heading Straight to the Source: Why Would a Washing Machine Leak from Underneath?
- Step-by-Step Guide: How to Diagnose a Washing Machine Leak
- Tools and Materials You’ll Need
- Preventative Maintenance: Keeping Your Washing Machine Leak-Free
- Cost of Repairs: What You Need to Know
- When to Replace Your Washing Machine
- Conclusion: Take Action Now!