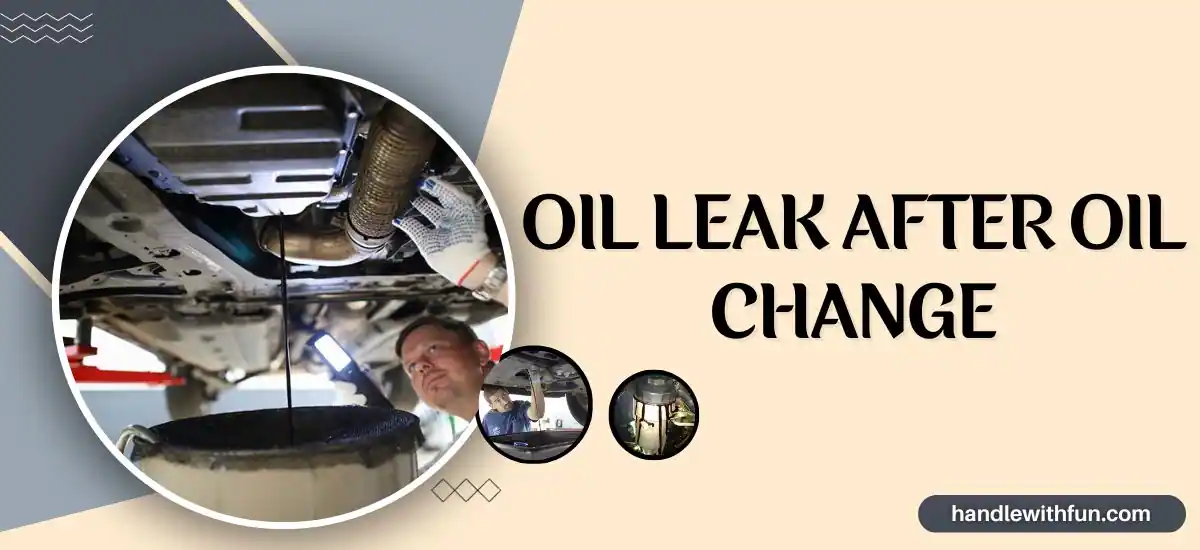
Nothing ruins a great day like spotting a puddle of oil under your car after an oil change. If you're here, chances are you've just gone through this nightmare, and you're wondering what went wrong. Oil leak after oil change is more common than you think, but that doesn’t make it any less frustrating. Whether it’s a DIY job or a visit to the mechanic, there are specific reasons why this happens and ways to fix it. Let’s dive right in and figure out what’s going on with your car.
First things first, oil leaks after an oil change can happen for a variety of reasons. Sometimes it’s as simple as a loose oil filter or improperly tightened drain plug. Other times, it could be something more serious like worn gaskets or seals. The good news is that most of these issues are preventable if you know what to look for. We’ll break down everything you need to know about oil leaks after oil changes, from common causes to step-by-step fixes.
Before we get into the nitty-gritty, let’s address the elephant in the room: Is this something you can handle yourself, or do you need to call in the pros? That depends on the severity of the leak and your level of automotive expertise. If it’s just a loose drain plug, you’re probably good to go. But if it’s something more complex, like a damaged oil pan gasket, you might want to leave it to the professionals. Let’s explore this further.
Read also:Drake Leaked Dick The Truth Behind The Hype And What You Should Know
Understanding Oil Leak After Oil Change: Common Causes
Let’s face it—oil leaks are no joke. They can lead to engine damage if left unchecked, so it’s important to understand why they happen in the first place. Below, we’ll explore some of the most common causes of oil leaks after an oil change:
- Loose or improperly installed oil filter
- Drain plug not tightened correctly
- Worn or damaged oil pan gasket
- Cracked oil pan
- Over-tightened oil filter or drain plug
- Old or degraded seals
These issues might seem minor, but they can cause serious problems down the road. Let’s take a closer look at each one and how they contribute to oil leaks.
Loose or Improperly Installed Oil Filter
A loose oil filter is one of the most common culprits behind oil leaks after an oil change. When the oil filter isn’t installed properly, it can cause oil to seep out from the connection point. This usually happens when the filter isn’t hand-tightened enough or if the wrong type of filter is used. Always double-check the installation and ensure the filter is snug but not over-tightened.
Drain Plug Not Tightened Correctly
The drain plug is another frequent offender. If it’s not tightened enough, oil will leak out as soon as the car is moved. On the flip side, over-tightening the drain plug can also cause leaks by stripping the threads or damaging the crush washer. The key is to find the sweet spot where the plug is secure but not excessively tight.
How to Diagnose an Oil Leak After Oil Change
Now that we’ve covered the common causes, let’s talk about how to diagnose an oil leak. Early detection is crucial to preventing further damage to your car. Here’s what you need to do:
First, check the area around the oil filter and drain plug. If you notice any signs of oil seeping out, that’s likely the source of the leak. Next, inspect the oil pan gasket for any signs of wear or damage. If the gasket looks cracked or degraded, it might be time for a replacement. Finally, look for any visible cracks in the oil pan itself. These steps will help you pinpoint the exact cause of the leak.
Read also:Danielle Cohnleaks The Untold Story Behind The Viral Sensation
Tools You’ll Need for Diagnosis
Here’s a quick list of tools you might need to diagnose an oil leak:
- Socket wrench set
- Gloves and protective eyewear
- Flashlight or inspection mirror
- Clean rags or paper towels
Having the right tools on hand will make the diagnosis process much easier and safer.
Step-by-Step Guide to Fixing an Oil Leak After Oil Change
Alright, let’s get down to business. If you’ve identified the source of the leak, it’s time to fix it. Follow these steps carefully to ensure a successful repair:
Fixing a Loose Oil Filter
Step 1: Park your car on a level surface and turn off the engine. Let it cool down for at least 30 minutes to avoid burns.
Step 2: Use an oil filter wrench to gently loosen the oil filter. Be prepared for some oil to spill out, so have a catch pan ready.
Step 3: Once the filter is removed, inspect the sealing ring. If it’s damaged or missing, that’s likely the cause of the leak.
Step 4: Install a new oil filter, ensuring it’s hand-tightened but not over-tightened. Apply a small amount of fresh oil to the sealing ring for a better seal.
Tightening the Drain Plug
If the leak is coming from the drain plug, follow these steps:
Step 1: Place a catch pan under the oil pan to collect any spilled oil.
Step 2: Use a socket wrench to carefully tighten the drain plug. Remember, you don’t want to over-tighten it, as this can cause more damage.
Step 3: Check for leaks by running the engine for a few minutes. If the leak persists, you might need to replace the crush washer or the drain plug itself.
When to Call a Mechanic
Not all oil leaks are DIY-friendly. If you’ve tried the above steps and the leak persists, it’s time to call in the professionals. Here are some signs that you need a mechanic:
- Oil is leaking from multiple areas
- The oil pan gasket is severely damaged
- The oil pan itself is cracked
- You’re unsure about the source of the leak
Don’t hesitate to seek professional help if you’re out of your depth. A qualified mechanic will have the expertise and tools needed to fix even the most stubborn leaks.
Choosing the Right Mechanic
When selecting a mechanic, look for someone with a good reputation and plenty of experience. Check online reviews and ask for recommendations from friends or family. A trustworthy mechanic will diagnose the problem accurately and provide a fair estimate for the repair.
Preventing Oil Leaks After Oil Changes
Prevention is always better than cure. Here are some tips to help you avoid oil leaks after oil changes:
- Use high-quality oil filters and drain plugs
- Follow the manufacturer’s instructions for installation
- Regularly inspect the oil pan gasket and seals
- Keep your car’s engine well-maintained
By taking these precautions, you can significantly reduce the risk of oil leaks and keep your car running smoothly.
Regular Maintenance is Key
Regular maintenance is one of the best ways to prevent oil leaks. Schedule routine oil changes and inspections to catch potential issues before they become major problems. It’s also a good idea to keep an eye on your car’s oil levels and address any signs of leaks as soon as possible.
Cost of Fixing an Oil Leak
So, how much does it cost to fix an oil leak after an oil change? The answer depends on the severity of the leak and the parts involved. Here’s a rough estimate:
- Oil filter replacement: $20-$50
- Drain plug replacement: $10-$30
- Oil pan gasket replacement: $200-$400
- Cracked oil pan repair: $500-$1,000+
As you can see, the cost can vary widely depending on the issue. That’s why it’s important to catch leaks early and address them promptly.
DIY vs. Professional Repair
When it comes to cost, DIY repairs are usually cheaper than professional repairs. However, you need to weigh the cost savings against your level of expertise and the complexity of the repair. If you’re unsure about your abilities, it’s always better to err on the side of caution and hire a professional.
Final Thoughts and Call to Action
Oil leaks after oil changes can be frustrating, but they’re not the end of the world. By understanding the common causes and taking the right steps, you can fix the issue and prevent it from happening again. Remember, prevention is key, so make sure to keep up with regular maintenance and inspections.
If you found this article helpful, don’t forget to share it with your friends and family. And if you have any questions or comments, feel free to drop them below. Let’s keep the conversation going and help each other out with our car troubles!
Table of Contents