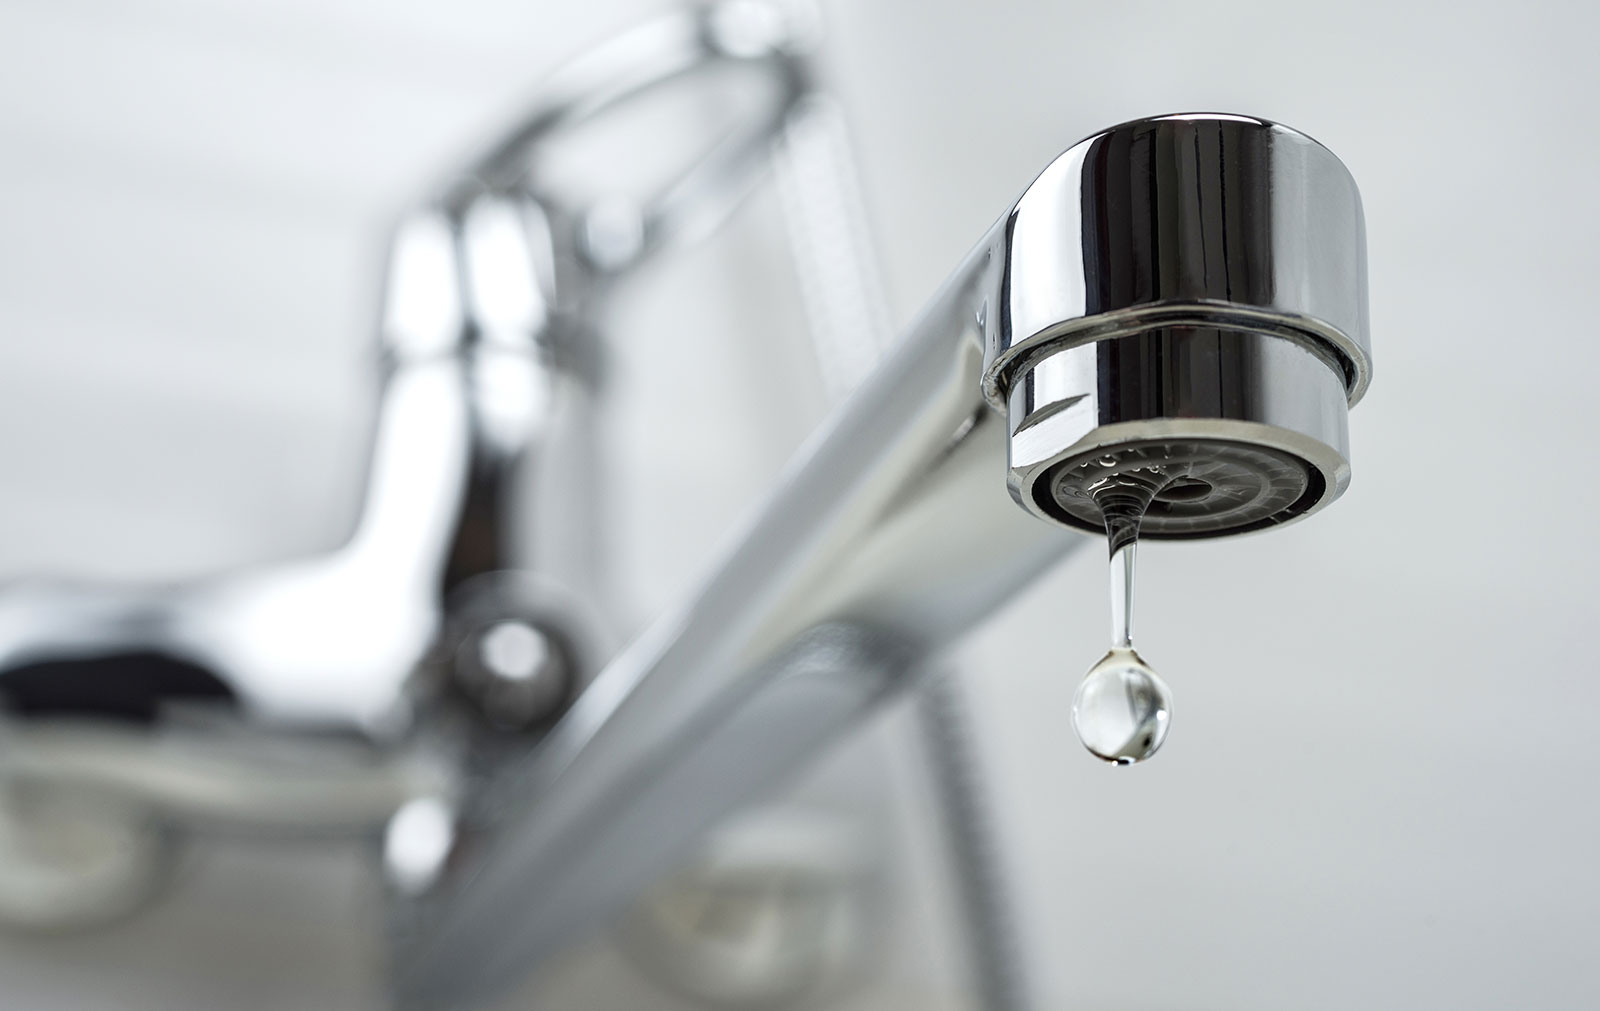
There’s nothing more annoying than waking up to that dreaded dripping sound coming from your bathroom faucet. You know the one—it’s like a metronome keeping time in the background of your life. A leaky bathroom faucet isn’t just an irritation; it can also lead to wasted water and higher utility bills. But don’t worry, we’ve got your back, and we’re here to help you tackle this plumbing issue head-on.
Whether you’re a DIY enthusiast or someone who’s never picked up a wrench before, fixing a leaky bathroom faucet is totally doable. We’ll break down the process step by step so you can get that annoying drip under control. Plus, we’ll share some insider tips to prevent future leaks and keep your plumbing in tip-top shape.
Let’s dive right into the world of leaky bathroom faucets and uncover the secrets to stopping that pesky drip once and for all. By the end of this article, you’ll be equipped with the knowledge and confidence to handle this common household problem like a pro.
Read also:Vyvanse Onlyfans Leak The Truth Behind The Controversy
What Causes a Leaky Bathroom Faucet?
Before we jump into solutions, it’s important to understand what exactly causes a bathroom faucet to leak. Knowledge is power, right? A leaky faucet can be caused by several factors, and pinpointing the exact issue is key to fixing it effectively.
One of the most common culprits is worn-out washers. Over time, these small rubber or plastic components can degrade, leading to leaks. Another possibility is a damaged O-ring, which is a small rubber ring that helps seal the faucet components. Mineral buildup from hard water can also contribute to leaks, as can loose or corroded parts.
Understanding the root cause will not only help you fix the current problem but also prevent similar issues down the line. Let’s take a closer look at each of these causes and how to address them.
Identifying the Type of Faucet You Have
Not all bathroom faucets are created equal. There are different types of faucets, each with its own quirks and repair methods. Knowing what type of faucet you have is crucial for troubleshooting and fixing leaks. Here’s a quick rundown:
- Compression faucets: These have separate hot and cold handles and rely on washers to stop the flow of water.
- Cartridge faucets: These use a cartridge instead of washers and are common in newer homes.
- Ball faucets: These have a single handle and use a ball mechanism to control water flow.
- Ceramic-disk faucets: These are known for their durability and use two ceramic disks to control water flow.
Once you’ve identified your faucet type, you’ll be better equipped to tackle the repair process. Don’t worry if you’re not sure—most faucets have identifying marks or labels that can help you figure it out.
Signs Your Faucet Needs Attention
Leaky faucets don’t always announce themselves with a loud drip. Sometimes, the signs are more subtle. Here are a few red flags to watch out for:
Read also:Male Celebs Leaked The Untold Story Behind The Chaos
- Water pooling around the base of the faucet
- Visible corrosion or mineral deposits
- Unusual sounds, such as hissing or clicking
- Reduced water pressure
If you notice any of these signs, it’s time to take action. Ignoring them could lead to bigger problems, like water damage or mold growth.
Step-by-Step Guide to Fixing a Leaky Bathroom Faucet
Now that you know what causes leaks and how to identify your faucet type, let’s get down to business. Here’s a step-by-step guide to fixing a leaky bathroom faucet:
Gather Your Tools and Materials
You’ll need a few basic tools and materials to complete this task. Don’t worry—you probably already have most of them lying around:
- Adjustable wrench
- Screwdriver (Phillips or flathead, depending on your faucet)
- Replacement washers or O-rings
- Vinegar or descaling solution for mineral buildup
- Teflon tape (optional)
Having the right tools on hand will make the process smoother and faster. Plus, it’ll save you from running to the hardware store mid-repair.
Turn Off the Water Supply
This is a crucial step that many people forget. Before you start tinkering with your faucet, make sure to turn off the water supply. Most bathrooms have a shut-off valve under the sink, but if yours doesn’t, you’ll need to turn off the main water supply for the house.
Once the water is off, open the faucet to release any remaining water in the pipes. This will prevent any unexpected surprises during the repair process.
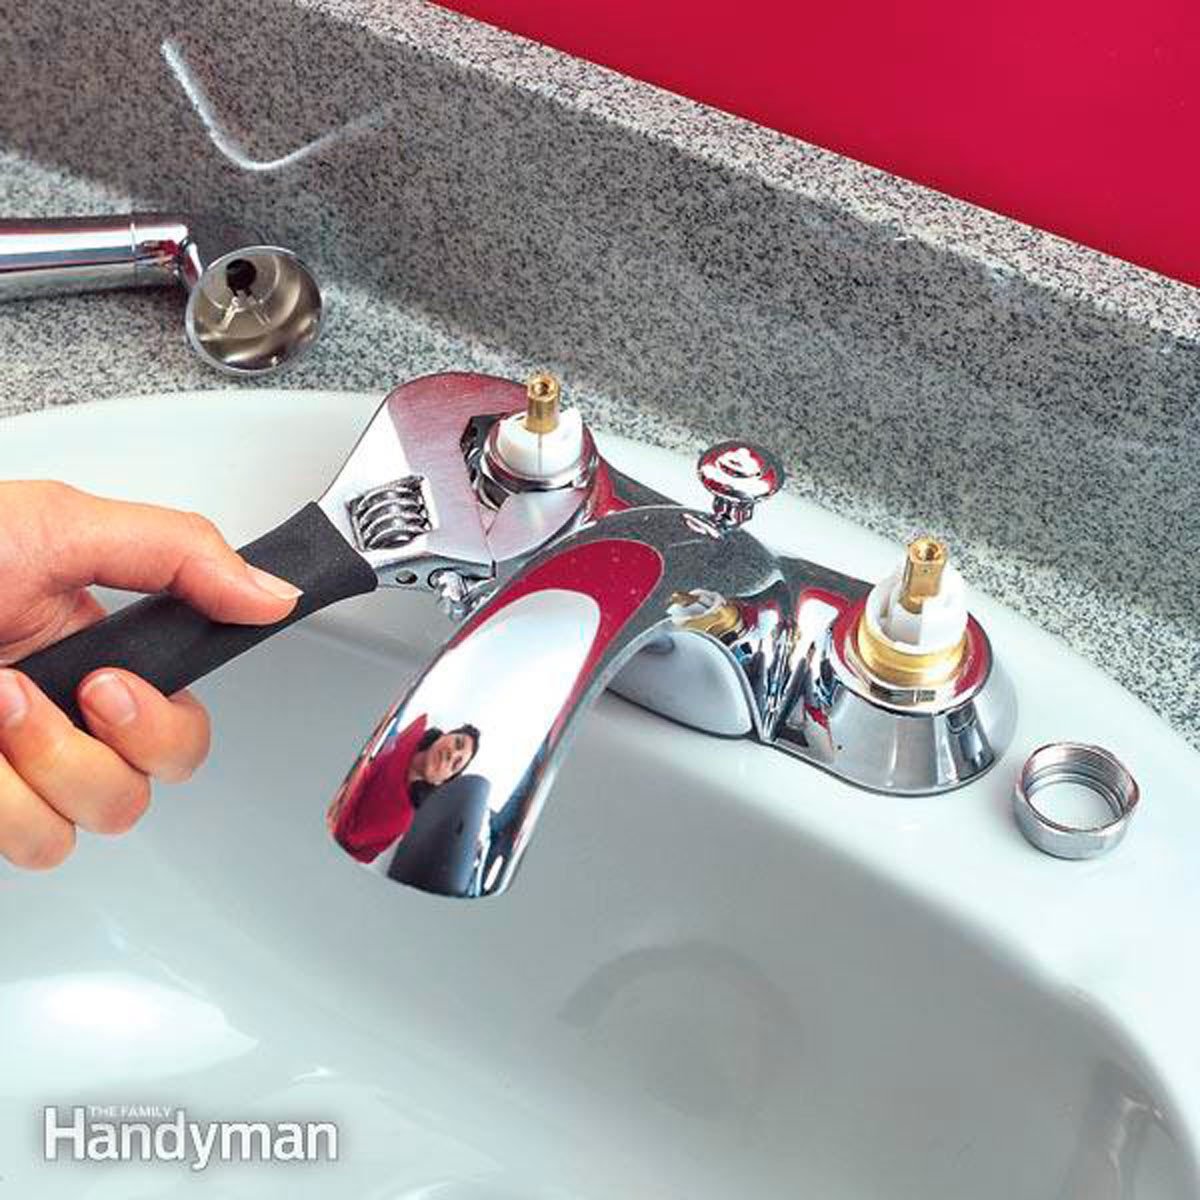
Disassemble the Faucet
Now it’s time to get your hands dirty. Start by removing the handle of the faucet. This usually involves unscrewing a small cap or set screw. Once the handle is off, you’ll have access to the inner workings of the faucet.
Be sure to take note of how everything is assembled so you can put it back together later. If you’re unsure, take a quick photo with your phone for reference.
Inspect and Replace Damaged Parts
With the faucet disassembled, inspect each component for signs of wear and tear. Look for cracked washers, worn-out O-rings, or corroded parts. Replace any damaged components with new ones that match the original size and specifications.
If you’re dealing with mineral buildup, soak the affected parts in a solution of equal parts water and vinegar for a few hours. This should dissolve the deposits and restore the faucet’s functionality.
Reassemble the Faucet
Once all the parts are clean and replaced, it’s time to put the faucet back together. Follow the reverse order of disassembly, making sure everything is tightened securely but not overtightened.
Once the faucet is reassembled, turn the water supply back on and test it for leaks. If everything looks good, congratulations—you’ve successfully fixed your leaky bathroom faucet!
Preventing Future Leaks
Fixing a leaky faucet is one thing, but preventing future leaks is another. Here are a few tips to keep your bathroom plumbing in top condition:
- Regularly inspect your faucets for signs of wear and tear.
- Use descaling solutions to remove mineral buildup from hard water.
- Replace worn-out parts as soon as you notice them.
- Consider upgrading to a more durable faucet type, such as ceramic-disk.
By staying proactive, you can avoid the hassle and expense of frequent repairs. Plus, a well-maintained faucet will last longer and save you money in the long run.
Common Mistakes to Avoid
Even the best of us make mistakes when tackling DIY projects. Here are a few common pitfalls to watch out for when fixing a leaky bathroom faucet:
- Not turning off the water supply before starting
- Over-tightening parts, which can cause damage
- Using mismatched replacement parts
- Forgetting to clean mineral deposits
Avoiding these mistakes will ensure a smoother repair process and a more successful outcome.
When to Call a Professional
While most leaky faucet repairs are DIY-friendly, there are times when it’s best to call in a professional plumber. If you’re dealing with a complex faucet type, extensive damage, or multiple leaks, it might be worth the investment to hire an expert.
Professional plumbers have the tools and experience to diagnose and fix even the trickiest plumbing issues. Plus, they can often provide advice on how to prevent future problems.
Cost of Fixing a Leaky Bathroom Faucet
One of the biggest concerns people have when tackling home repairs is the cost. The good news is that fixing a leaky bathroom faucet is usually quite affordable. Replacement parts like washers and O-rings are inexpensive, and most tools you’ll need are likely already in your garage.
If you decide to hire a professional, the cost will vary depending on the complexity of the job and the plumber’s rates. However, catching the problem early can save you a lot of money in the long run by preventing more extensive damage.
Conclusion: Stop the Drip, Save the Day
Fixing a leaky bathroom faucet doesn’t have to be a daunting task. With a little knowledge and the right tools, you can tackle this common household problem with confidence. Remember to identify the root cause, gather your materials, and follow the step-by-step guide we’ve provided.
Don’t forget to take preventive measures to avoid future leaks and keep your plumbing in great shape. And if you ever find yourself stuck, don’t hesitate to call in a professional.
We hope this article has been helpful in your quest to conquer that pesky dripping sound. Now go forth and fix that faucet—you’ve got this!
Table of Contents
What Causes a Leaky Bathroom Faucet?
Identifying the Type of Faucet You Have
Signs Your Faucet Needs Attention
Step-by-Step Guide to Fixing a Leaky Bathroom Faucet
Gather Your Tools and Materials