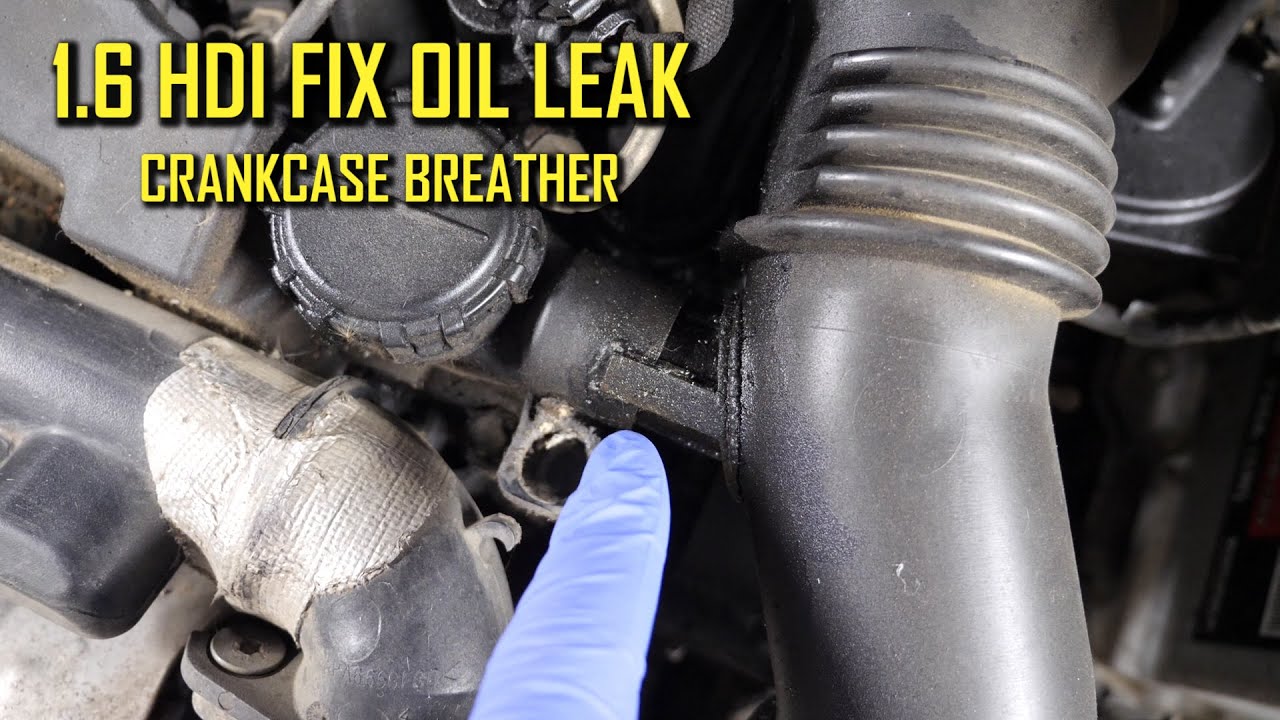
Ever notice that pesky puddle under your car? Yeah, it could be an oil leak, and trust me, ignoring it is not the answer. Whether you're a seasoned mechanic or someone who barely knows how to pop the hood, fixing an oil leak isn't as daunting as it sounds. With the right steps and a bit of patience, you can save yourself a ton of money and headaches. So, let's dive into how to fix an oil leak like a pro!
Oil leaks are one of those sneaky little problems that can creep up on you when you least expect it. They don’t just ruin your garage floor; they can also lead to serious engine damage if left unchecked. But hey, before you panic, let’s break it down. An oil leak doesn’t always mean your car is on its last legs. Sometimes, it’s just a loose bolt or a worn-out gasket. Fixing it yourself can be easier than you think, and we’re here to guide you through it.
Now, buckle up because we’re about to take you on a journey where you’ll learn everything from diagnosing the problem to performing the repair. By the end of this, you’ll be equipped with the knowledge to tackle that oil leak like a champ. So, grab your tools, and let’s get started!
Read also:Tate Mcrae Nude Leak Debunking The Rumors And Protecting Digital Privacy
Understanding Oil Leaks: What Are We Dealing With?
First things first, let's talk about what an oil leak actually is. Simply put, it's when engine oil escapes from your car's engine and ends up on the ground. Sounds simple enough, right? But here's the kicker—it can happen for a bunch of different reasons. From worn-out seals to damaged oil pans, the possibilities are endless. The good news? Most oil leaks are fixable, especially if you catch them early.
Common Causes of Oil Leaks
Before we jump into the solutions, it’s important to understand the root causes. Here are some of the most common culprits:
- Loose or damaged oil pan bolts
- Worn-out valve cover gaskets
- Cracked oil pan
- Oil filter not properly installed
- Seal failure (like crankshaft or camshaft seals)
These issues might sound scary, but don’t worry. We’ll walk you through each one and show you how to fix them step by step.
How to Diagnose an Oil Leak
Diagnosing an oil leak is like playing detective. You’ve got to follow the clues and piece together the puzzle. The first step is identifying where the leak is coming from. This can be tricky, especially if the oil has dripped down from the engine and spread around. But with a few tricks up your sleeve, you’ll be able to pinpoint the source in no time.
Tools You’ll Need for Diagnosis
Here’s a quick list of tools that’ll come in handy:
- Torch or flashlight
- Protective gloves
- Clean rags or paper towels
- Car lift or ramps (optional)
With these tools, you’ll be able to inspect your engine more thoroughly. Remember, safety first! Always make sure your car is turned off and cooled down before you start poking around.
Read also:Drake Leak Unblurred The Untold Story Behind The Chaos
Step-by-Step Guide to Fixing an Oil Leak
Now that you’ve diagnosed the problem, it’s time to roll up your sleeves and get to work. Follow these steps to fix that oil leak like a pro:
Step 1: Gather Your Supplies
You’ll need a few essential items to get the job done:
- Replacement gaskets or seals
- Torque wrench
- Socket set
- New oil filter (if applicable)
Make sure you have everything you need before you start. Trust me, running to the store halfway through the job is not fun.
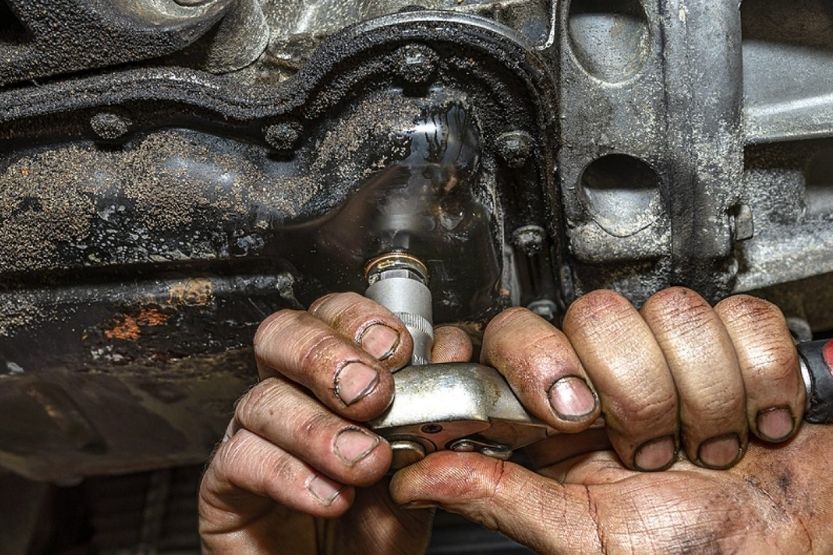
Step 2: Drain the Old Oil
Before you start replacing parts, you’ll need to drain the old oil. This is important to prevent contamination and ensure a clean installation. Place a catch pan under the oil pan and carefully remove the drain plug. Let the oil drain completely before proceeding.
Step 3: Replace the Faulty Component
Now it’s time to replace the part causing the leak. Whether it’s a gasket, seal, or oil filter, follow the manufacturer’s instructions carefully. Use a torque wrench to ensure bolts are tightened to the correct specifications.
Step 4: Refill the Oil
Once everything is back in place, it’s time to refill the oil. Use the recommended grade and type of oil for your vehicle. Check the oil level with the dipstick and top it off as needed.
Step 5: Test Your Work
Start the engine and let it run for a few minutes. Check for any signs of leaks. If everything looks good, give yourself a pat on the back—you’ve just saved yourself a ton of money!
Preventing Future Oil Leaks
Fixing an oil leak is one thing, but preventing future leaks is another. Here are a few tips to keep your engine running smoothly:
Regular Maintenance
Keeping up with regular maintenance is key. Change your oil and oil filter at the recommended intervals. This will help prevent gaskets and seals from wearing out prematurely.
Inspect for Signs of Wear
During routine maintenance, inspect your engine for any signs of wear or damage. Catching potential problems early can save you a lot of hassle down the road.
Cost Considerations
Fixing an oil leak yourself can save you a bundle. On average, a professional repair can cost anywhere from $150 to $500, depending on the severity of the leak. By doing it yourself, you’ll only need to pay for parts, which can range from $20 to $100. Not too shabby, right?
When to Call a Professional
While most oil leaks are DIY-friendly, there are times when it’s best to leave it to the professionals. If the leak is severe or if you’re unsure about the cause, it’s always better to err on the side of caution. A qualified mechanic can diagnose and repair the issue quickly and efficiently.
Signs You Need Professional Help
- Severe engine damage
- Multiple leaks
- Unfamiliar components
If you notice any of these signs, don’t hesitate to reach out to a trusted mechanic.
Environmental Impact of Oil Leaks
Oil leaks aren’t just a headache for car owners; they also have a significant environmental impact. Oil that leaks onto the ground can seep into the soil and contaminate groundwater. That’s why it’s so important to address oil leaks promptly and responsibly.
Proper Disposal of Used Oil
When replacing oil, make sure to dispose of it properly. Many auto parts stores and service centers offer free oil recycling services. Do your part to protect the environment by following proper disposal procedures.
Conclusion
Fixing an oil leak might seem intimidating at first, but with the right knowledge and tools, it’s a task that most car owners can tackle themselves. By following the steps outlined in this guide, you’ll be able to diagnose and repair oil leaks with confidence. Not only will you save money, but you’ll also gain a sense of accomplishment and peace of mind knowing your car is running smoothly.
So, what are you waiting for? Grab your tools and get to work! And don’t forget to share this article with your fellow car enthusiasts. Together, we can keep those oil leaks at bay and our cars running like new.
Table of Contents
- Understanding Oil Leaks: What Are We Dealing With?
- Common Causes of Oil Leaks
- How to Diagnose an Oil Leak
- Tools You’ll Need for Diagnosis
- Step-by-Step Guide to Fixing an Oil Leak
- Step 1: Gather Your Supplies
- Step 2: Drain the Old Oil
- Step 3: Replace the Faulty Component
- Step 4: Refill the Oil
- Step 5: Test Your Work
- Preventing Future Oil Leaks
- Regular Maintenance
- Inspect for Signs of Wear
- Cost Considerations
- When to Call a Professional
- Signs You Need Professional Help
- Environmental Impact of Oil Leaks
- Proper Disposal of Used Oil
- Conclusion