Ever woken up in the middle of the night hearing that annoying drip from your bathroom faucet? Yeah, we’ve all been there. A leaky bathroom faucet isn’t just an irritation—it’s also costing you money and wasting precious water. But don’t sweat it! Fixing a dripping faucet is easier than you think, and with the right tools and a bit of patience, you can handle it like a pro.
Now, before you call in the plumber and prepare to shell out big bucks, let’s break it down for you. This guide will show you exactly how to fix a leaky bathroom faucet without breaking the bank. Whether you’re a seasoned DIY enthusiast or a complete beginner, we’ve got your back. So grab your toolkit and let’s dive right in!
Oh, and one more thing—fixing your faucet isn’t just about saving money. It’s also about saving the planet. Yep, you read that right. Every drop counts, and by tackling this small but impactful repair, you’re doing your part to conserve water. Now, isn’t that something to feel good about?
Read also:Victoria Justice Nude Leak The Truth Behind The Controversy And How It Impacts Online Privacy
Table of Contents
- Tools You’ll Need to Fix a Leaky Faucet
- Common Causes of a Leaky Bathroom Faucet
- How to Diagnose the Problem
- Replacing a Faulty Cartridge
- Fixing a Washer Issue
- Dealing with a Damaged O-Ring
- Inspecting and Replacing the Seal
- Adjusting the Valve Stem
- Preventive Maintenance Tips
- Understanding the Cost of Repair
Tools You’ll Need to Fix a Leaky Faucet
Before we get into the nitty-gritty of fixing your faucet, let’s talk about the tools you’ll need. Don’t worry, you won’t need anything fancy—just the basics. Here’s a quick rundown:
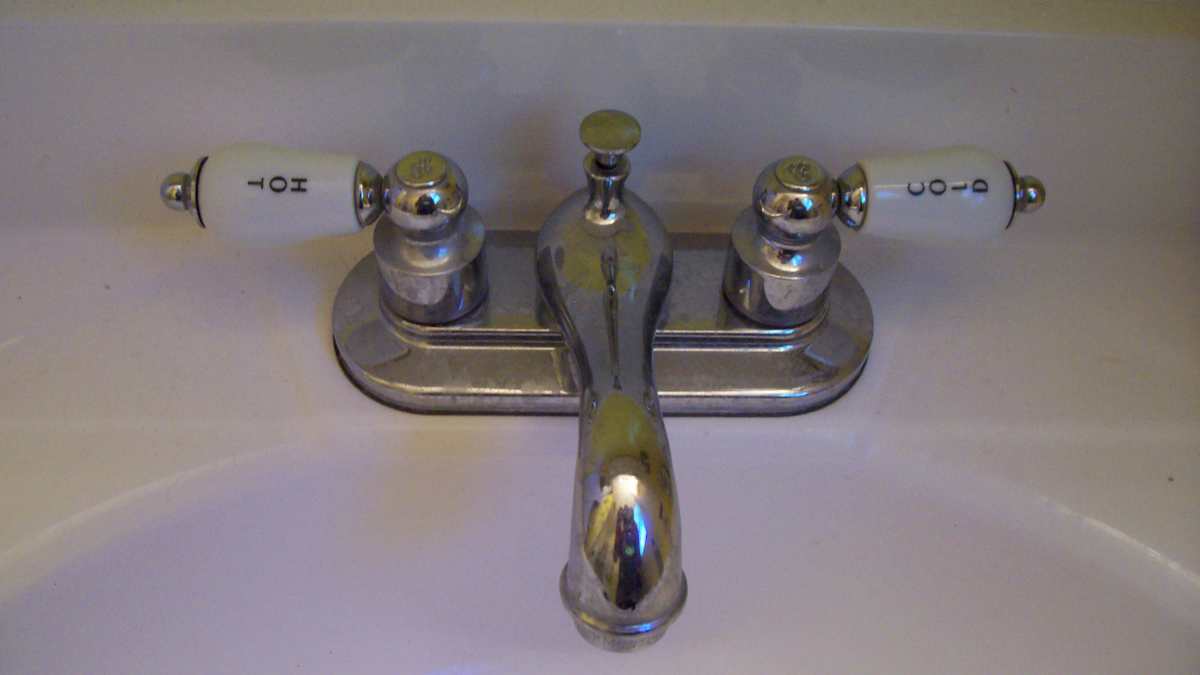
- Adjustable wrench or basin wrench
- Screwdriver (Phillips or flathead, depending on your faucet)
- Plumber’s grease
- Replacement parts (cartridge, washer, O-ring, etc.)
- Towel or cloth to catch water and protect surfaces
- Bucket for collecting water
Pro tip: If you’re not sure what type of faucet you have, take a quick look at the brand and model number. This will help you get the right replacement parts when you head to the hardware store.
Common Causes of a Leaky Bathroom Faucet
Let’s face it—faucets don’t just start leaking for no reason. There are several common culprits behind that pesky drip, and understanding them is the first step toward fixing the issue. Here are the top reasons why your bathroom faucet might be leaking:
Worn-Out Washers
Washers are the little rubber or plastic discs inside your faucet that create a tight seal when you turn off the water. Over time, these washers can wear out or become misshapen, leading to leaks. Replacing them is usually a quick fix.
Broken Cartridge
Cartridges are found in most modern faucets and control the flow of water. If the cartridge gets damaged or corroded, it can cause your faucet to drip. Swapping out the old cartridge with a new one is a straightforward solution.
Damaged O-Ring
An O-ring is a small rubber ring that helps create a watertight seal. If it gets worn out or misaligned, water can start leaking around the handle. Replacing the O-ring is usually a simple fix.
Read also:Jamelizzzz Onlyfans Leak The Untold Story Behind The Scenes
Now that we’ve covered the common causes, let’s move on to diagnosing the problem. Stick with me—it’s easier than you think!
How to Diagnose the Problem
Alright, detective time! Diagnosing the issue with your faucet is crucial if you want to fix it properly. Here’s how you can identify the root cause:
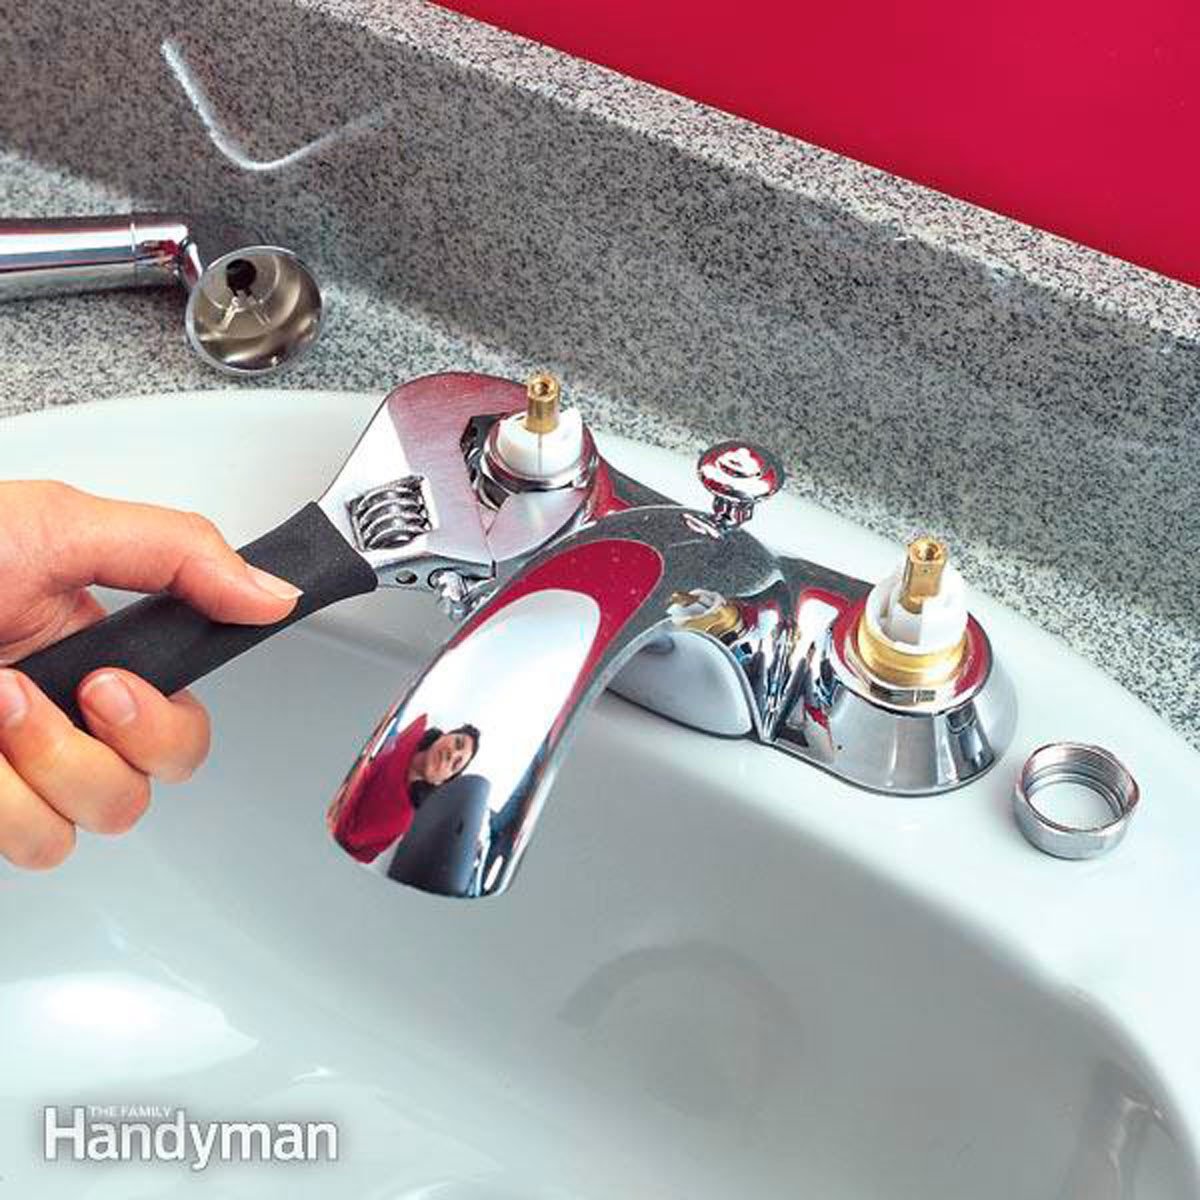
First, turn off the water supply under the sink. This will prevent water from gushing out while you work. Next, remove the handle of the faucet. Most handles are held in place by a small screw, so use your screwdriver to carefully take it off.
Once the handle is removed, inspect the internal components. Look for signs of wear and tear, corrosion, or damage. If you’re not sure what you’re looking at, don’t worry—we’ll break it down step by step in the next sections.
Replacing a Faulty Cartridge
If you’ve determined that the cartridge is the culprit, replacing it is relatively simple. Here’s how you do it:
- Turn off the water supply under the sink.
- Remove the handle and unscrew the retaining nut that holds the cartridge in place.
- Pull out the old cartridge and take it to the hardware store to get an exact match.
- Install the new cartridge by gently pushing it into place and securing it with the retaining nut.
- Turn the water supply back on and test the faucet.
Pro tip: Make sure you use plumber’s grease on the O-ring of the new cartridge to ensure a smooth, watertight fit.
Fixing a Washer Issue
Worn-out washers are one of the most common reasons for a dripping faucet. Here’s how to replace them:
- Turn off the water supply and remove the handle.
- Unscrew the valve stem and remove the old washer.
- Take the old washer to the store to get an exact replacement.
- Install the new washer and reassemble the faucet.
- Turn the water supply back on and check for leaks.
Simple, right? Sometimes the smallest parts can make the biggest difference.
Types of Washers
There are a few different types of washers you might encounter:
- Rubber washers: Common in older faucets
- Plastic washers: Used in many modern faucets
- Composite washers: A mix of materials for durability
Make sure you get the right type for your faucet to avoid future issues.
Dealing with a Damaged O-Ring
A damaged O-ring can cause water to leak around the handle. Here’s how to fix it:
- Turn off the water supply and remove the handle.
- Unscrew the stem and remove the O-ring.
- Take the old O-ring to the store to get a matching replacement.
- Install the new O-ring and reassemble the faucet.
- Test the faucet for leaks.
Pro tip: If the O-ring feels dry or brittle, it’s probably time for a replacement. Don’t skip this step—it could save you a lot of trouble down the line.
Inspecting and Replacing the Seal
The seal is another crucial component that can cause leaks if it’s damaged. Here’s how to inspect and replace it:
- Turn off the water supply and disassemble the faucet.
- Check the seal for signs of wear or damage.
- Remove the old seal and take it to the store for a replacement.
- Install the new seal and reassemble the faucet.
- Test the faucet to ensure the leak is gone.
Remember, a good seal is essential for keeping your faucet functioning properly. Don’t skimp on quality when it comes to replacement parts.
Adjusting the Valve Stem
Sometimes, the valve stem just needs a little adjustment to stop the leak. Here’s how you can do it:
- Turn off the water supply and remove the handle.
- Unscrew the valve stem and check for corrosion or damage.
- Apply plumber’s grease to the stem and reassemble the faucet.
- Turn the water supply back on and test the faucet.
If the leak persists after adjusting the stem, it might be time to replace it entirely.
Preventive Maintenance Tips
Prevention is key when it comes to maintaining your bathroom faucet. Here are a few tips to keep it in top shape:
- Regularly clean the aerator to prevent mineral buildup.
- Inspect the faucet for signs of wear every few months.
- Use mild cleaning products to avoid damaging the finish.
- Consider installing a water softener if you live in an area with hard water.
By staying on top of maintenance, you can avoid costly repairs and extend the life of your faucet.
Understanding the Cost of Repair
Fixing a leaky bathroom faucet doesn’t have to break the bank. Here’s a rough estimate of what you might spend:
- Replacement parts: $5–$20
- Tools: If you don’t already have them, around $20–$50
- Professional plumber: $100–$300, depending on the job
As you can see, tackling the repair yourself can save you a significant amount of money. Plus, you’ll gain a valuable skill that you can use for future projects.
Conclusion
So there you have it—a comprehensive guide on how to fix a leaky bathroom faucet. Whether it’s a worn-out washer, a damaged O-ring, or a faulty cartridge, you now have the knowledge and tools to tackle the problem head-on. Remember, fixing a leak isn’t just about saving money—it’s about saving water and doing your part for the environment.
Now that you’ve learned the ropes, why not share this article with your friends and family? Who knows, you might just inspire someone else to take on their own DIY project. And if you have any questions or need further clarification, feel free to drop a comment below. Happy fixing, and may your nights be drip-free from now on!