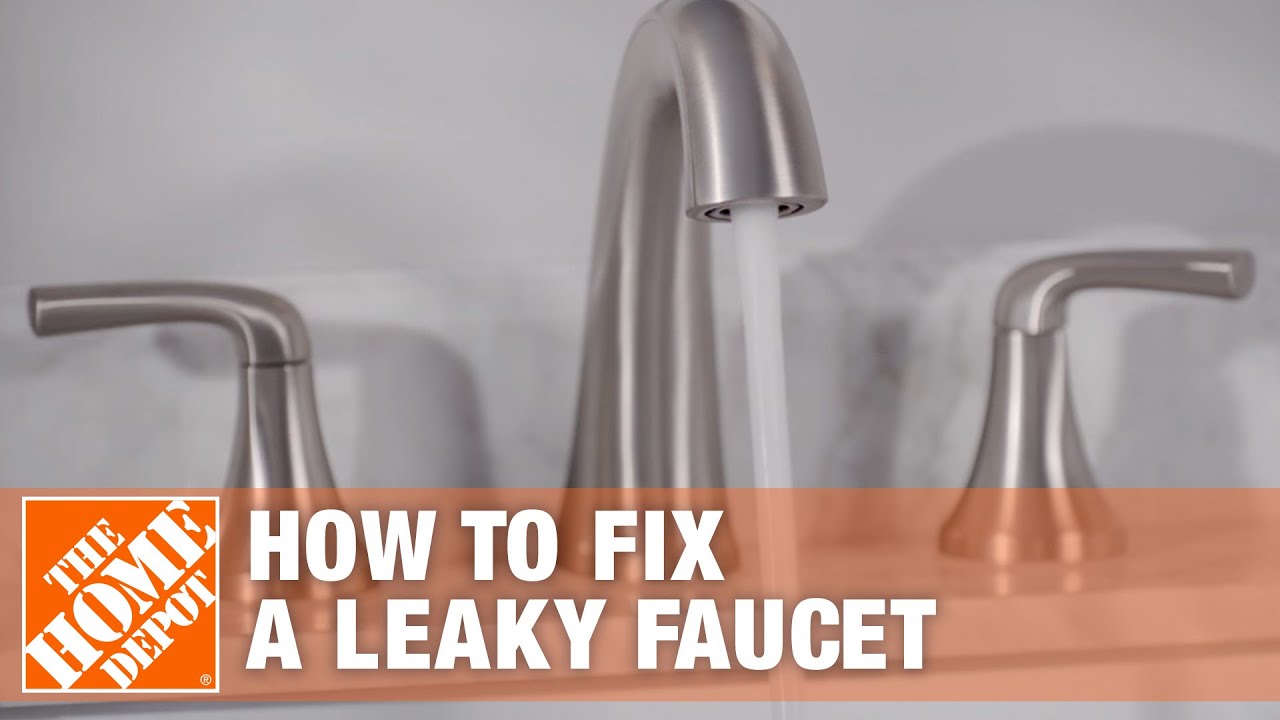
Imagine this: you're lying in bed, trying to relax after a long day, but there's that annoying drip-drip-drip coming from your bathroom faucet leaking. It's like a clock ticking away, driving you insane. But hey, let’s not just blame the faucet – it’s trying to tell you something! A leaking faucet isn’t just an irritation; it’s a warning sign that something might be wrong with your plumbing system. And trust me, if you ignore it, you could end up with a much bigger problem on your hands.
Now, I know what you’re thinking – calling a plumber seems like the easiest solution. But guess what? You can totally fix this issue yourself! Yep, with a little bit of know-how and the right tools, you’ll be able to stop that annoying drip and save yourself some serious cash. Plus, who doesn’t love the satisfaction of fixing something themselves?
So, buckle up, because we’re diving deep into the world of bathroom faucet leaking. By the end of this guide, you’ll have all the knowledge you need to tackle the problem head-on and maybe even impress your friends with your newfound plumbing skills. Let’s get to it!
Read also:Little Clover Whispers Leak What You Need To Know And Why It Matters
Table of Contents
- Common Causes of Bathroom Faucet Leaking
- Tools You'll Need to Fix the Leak
- How to Diagnose the Problem
- Fixing a Cartridge Faucet Leak
- Dealing with Ball Faucet Leaks
- Compression Faucet Leaks and How to Fix Them
- Ceramic Disk Faucets: The Modern Fix
- Preventive Measures to Avoid Future Leaks
- How Much Money Can You Save by Fixing It Yourself?
- Final Thoughts on Bathroom Faucet Leaking
Common Causes of Bathroom Faucet Leaking
Alright, let’s talk about the root causes of that pesky bathroom faucet leaking. Understanding why it’s happening is the first step toward fixing it. Here are some of the most common culprits:
- Worn-out washers or O-rings
- Damaged valve seats
- Corroded or loose parts
- Mineral deposits from hard water
- Improper installation
See? It’s not rocket science. Most of the time, it’s just a matter of replacing a small part or giving your faucet a good clean. But don’t worry, we’ll break it all down for you in the next sections.
Tools You'll Need to Fix the Leak
Before you dive into the repair process, make sure you have the right tools on hand. You don’t want to be halfway through the job and realize you’re missing something crucial. Here’s what you’ll need:
- Adjustable wrench
- Phillips and flathead screwdrivers
- Pliers
- Replacement parts (washers, O-rings, cartridges, etc.)
- Vinegar or descaling solution (for mineral deposits)
And hey, if you’re not sure about what parts you need, don’t sweat it. Just take the old ones to your local hardware store, and they’ll help you find the right replacements. Easy peasy!
How to Diagnose the Problem
Diagnosing the issue is key to fixing your bathroom faucet leaking. You don’t want to replace parts willy-nilly – that’s just a waste of time and money. Here’s a quick guide to help you figure out what’s wrong:
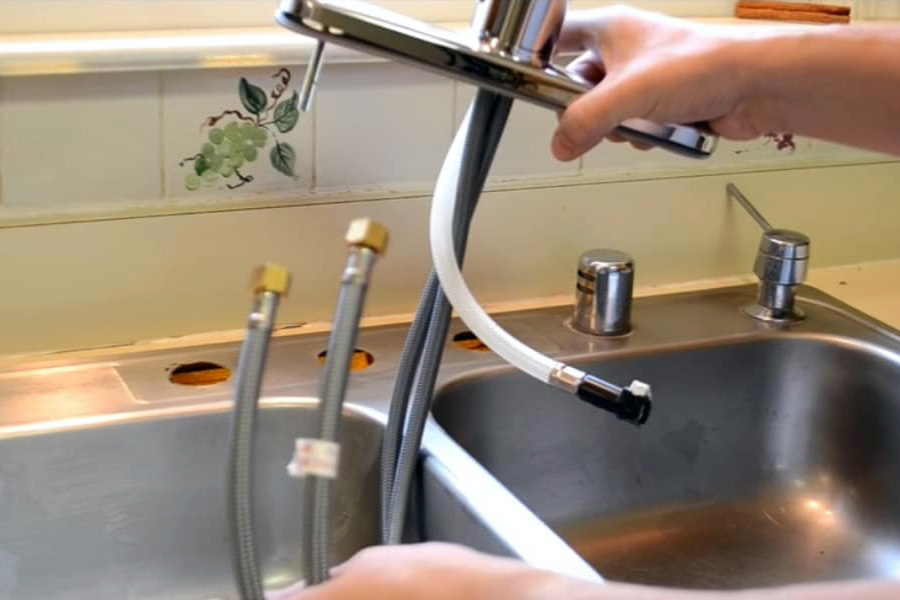
Step 1: Turn Off the Water Supply
First things first, shut off the water supply to your sink. You’ll usually find the shut-off valves under the sink, but if not, you might need to turn off the main water supply to your house. Safety first, folks!
Read also:Onlyfams Leaks The Untold Story You Need To Know
Step 2: Check for Visible Damage
Take a good look at your faucet. Are there any visible cracks or corrosion? If so, you might need to replace the entire faucet. But don’t panic – most leaks are caused by internal issues, not external damage.
Step 3: Identify the Type of Faucet
There are four main types of faucets: cartridge, ball, compression, and ceramic disk. Knowing which type you have will help you determine the best course of action. We’ll go into more detail about each type later on.
Fixing a Cartridge Faucet Leak
Cartridge faucets are super common, so chances are you have one in your bathroom. Fixing a leak in this type of faucet is pretty straightforward. Here’s how you do it:
Start by removing the decorative cap and unscrewing the handle. Then, use a wrench to remove the retaining clip and pull out the cartridge. If the cartridge is worn out or damaged, replace it with a new one. Reassemble the faucet, turn the water supply back on, and test for leaks.
Dealing with Ball Faucet Leaks
Ball faucets are a bit more complicated, but don’t let that scare you. The key to fixing a ball faucet leak is replacing the rubber cam washer. Here’s what you need to do:
- Remove the handle and lift out the ball assembly
- Inspect the cam washer and replace it if necessary
- Clean the inlet seals and springs
- Reassemble the faucet and test for leaks
And just like that, your ball faucet should be good as new!
Compression Faucet Leaks and How to Fix Them
Compression faucets are the old-school type with separate handles for hot and cold water. If you have one of these, the most likely cause of a leak is a worn-out washer. Here’s how to fix it:
Step 1: Remove the Handle
Use a screwdriver to remove the handle and take out the packing nut. Then, unscrew the stem and pull it out.
Step 2: Replace the Washer
Inspect the washer at the end of the stem. If it’s worn out or damaged, replace it with a new one. Reassemble the faucet, turn the water supply back on, and test for leaks.
Ceramic Disk Faucets: The Modern Fix
Ceramic disk faucets are the fancy ones with a single lever handle. They’re designed to last a long time, but even they can develop leaks. Here’s what you need to do:
Start by removing the handle and taking out the cylinder. If the cylinder is damaged, replace it with a new one. If it’s just dirty, clean it with vinegar or a descaling solution. Reassemble the faucet, turn the water supply back on, and test for leaks.
Preventive Measures to Avoid Future Leaks
Now that you’ve fixed your bathroom faucet leaking, it’s time to think about preventing future issues. Here are some tips to keep your faucet in tip-top shape:
- Regularly clean your faucet to remove mineral deposits
- Check for leaks periodically and address them early
- Use a water softener if you have hard water
- Be gentle when using your faucet – no need to force it!
By following these simple steps, you’ll save yourself a lot of hassle down the road.
How Much Money Can You Save by Fixing It Yourself?
Let’s talk numbers, shall we? Hiring a plumber to fix a leaking faucet can cost anywhere from $100 to $300, depending on the severity of the issue. But if you fix it yourself, you’ll only need to spend a fraction of that on replacement parts. Plus, you’ll gain a valuable skill that you can use for future plumbing projects.
And let’s not forget about the water savings. A dripping faucet can waste up to 3,000 gallons of water per year! Fixing the leak will not only save you money on your water bill but also help the environment. Win-win, right?
Final Thoughts on Bathroom Faucet Leaking
So there you have it – a comprehensive guide to fixing your bathroom faucet leaking. Whether you have a cartridge, ball, compression, or ceramic disk faucet, you now have the knowledge and tools to tackle the problem yourself. And remember, prevention is key. By taking care of your faucet, you’ll avoid future leaks and save yourself a lot of hassle.
Now it’s your turn! If you’ve successfully fixed your leaking faucet, leave a comment below and let us know how it went. And if you’re still struggling, don’t hesitate to reach out – we’re here to help. Happy plumbing!