You know what’s kinda wild? Tying a bow can feel like solving a Rubik’s Cube the first time you try it. But trust me, it’s not as complicated as it looks. Whether you’re wrapping gifts, fixing up a tie, or just trying to impress someone with your knot-tying skills, knowing how to tie a bow is a life skill worth mastering. And guess what? By the end of this article, you’ll be tying bows like a pro!
Let’s be honest here. Most people don’t even think about how to tie a bow until they’re staring at a pile of gift wrap on Christmas morning or trying to fix their kid’s hair accessory before school. But hey, life’s full of surprises, and you never know when this skill might come in handy. So why not learn it now and save yourself the stress later?
Before we dive into the nitty-gritty, let me assure you that tying a bow isn’t rocket science. With a little practice and the right technique, you’ll be looping and pulling those strings like a champ. Stick around, and I’ll walk you through everything you need to know.
Read also:Amanda Cerny Nudes The Truth Behind The Viral Sensation
Why Learning How to Tie a Bow Matters
Now, you might be wondering, “Why does tying a bow even matter?” Well, my friend, it matters more than you think. Think about all the times you’ve been stuck with a lopsided bow on a gift or a crooked hair tie. Not exactly the look you’re going for, right? Knowing how to tie a bow properly can elevate your game in so many areas of life.
From decorating gift boxes to accessorizing outfits, a perfectly tied bow adds that extra touch of elegance and thoughtfulness. Plus, it’s a skill that makes you look way more put-together. Who doesn’t want that?
Common Mistakes People Make When Tying a Bow
Here’s the deal: Most people mess up tying a bow because they rush through the process or skip important steps. Some common mistakes include:
- Not making the loops even
- Pulling too hard and distorting the shape
- Starting with the wrong size of ribbon or string
Don’t worry, though. We’re about to fix all of that!
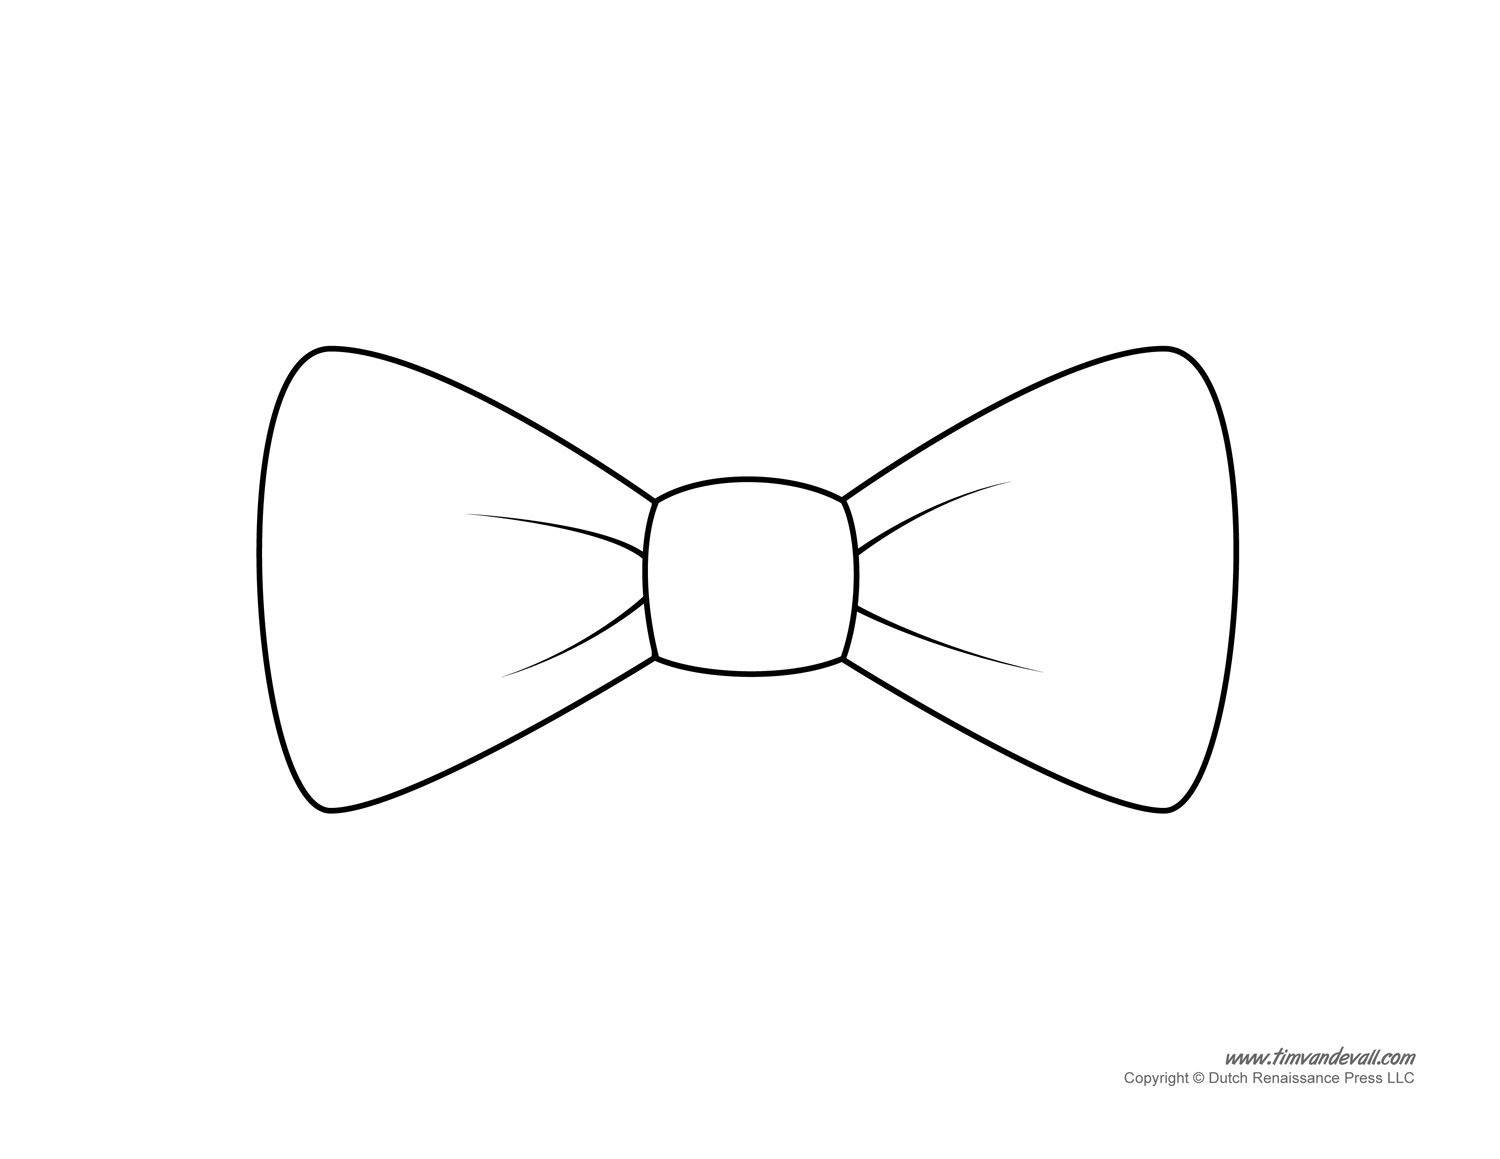
How to Tie a Bow: A Beginner’s Guide
Alright, let’s get down to business. Here’s a step-by-step guide to tying a bow like a total pro:
Step 1: Choose the Right Material
Not all ribbons are created equal. For beginners, I recommend starting with a soft, flexible ribbon. It’s way easier to work with than something stiff or thick. Plus, it’s forgiving if you make a mistake.
Read also:Carrie Bradshaw Outfits A Fashionistas Dream Come True
Step 2: Create Your First Loop
Hold the ribbon in one hand and create a small loop with the other. Make sure the loop isn’t too tight or too loose. Think Goldilocks—just right. Now, hold that loop with your thumb and forefinger so it doesn’t slip.
Step 3: Wrap the Ribbon Around
Take the other end of the ribbon and wrap it around the base of the first loop. This is where things start to come together. Keep the tension even as you wrap, and don’t let go of that first loop just yet!
Step 4: Create the Second Loop
Now, take the end of the ribbon and create a second loop on the opposite side. Again, make sure it’s the same size as the first loop. Consistency is key here, folks.
Step 5: Pull It Tight
Once both loops are in place, gently pull the ends of the ribbon to tighten the bow. Be careful not to pull too hard, or you’ll end up with a squished mess. Trust me, I’ve been there.
Step 6: Adjust and Perfect
The final step is to fluff and adjust your bow until it looks perfect. Give each loop a little tug to make sure everything’s symmetrical. And there you have it—a beautiful bow!
Tips and Tricks for Tying a Bow
Here are a few insider tips to help you master the art of bow-tying:
- Practice on different materials to get a feel for how they behave.
- Use a ruler or measuring tape to ensure your loops are even.
- Don’t be afraid to start over if things aren’t looking right.
Remember, practice makes perfect. The more you tie bows, the better you’ll get at it.
How to Tie a Bow in Different Situations
Tying a bow isn’t just for gifts. You can use this skill in all sorts of situations. For example:
Wrapping Gifts
When wrapping gifts, make sure your ribbon is long enough to go around the box with plenty left over for the bow. This will save you a lot of frustration later on.
Accessories
For hair bows or clothing accessories, use a smaller, sturdier ribbon. It’ll hold its shape better and look more polished.
Decorating
If you’re tying a bow for decorative purposes, consider using a wired ribbon. It’s much easier to manipulate and will stay in place longer.
Common Questions About Tying a Bow
Let’s tackle some of the most frequently asked questions about how to tie a bow:
Q: What if my bow looks uneven?
A: If your bow looks uneven, don’t panic. Simply adjust the loops until they’re symmetrical. It’s all about tweaking and perfecting.
Q: Can I tie a bow with any type of string?
A: Technically, yes, but some materials are harder to work with than others. Stick with soft, flexible ribbons when you’re starting out.
Q: How do I keep my bow from falling apart?
A: Make sure you pull the ends tight enough to secure the bow. You can also use a small piece of tape or glue to hold it in place if needed.
The Science Behind Tying a Bow
Did you know there’s actually some science behind tying a bow? According to a study published in the Journal of Knot Theory, the symmetry and tension of a bow are crucial to its stability. Who knew, right?
Researchers found that the ideal bow has loops that are perfectly balanced and evenly spaced. This creates a visually appealing and structurally sound knot. So, there’s more to tying a bow than meets the eye!
Fun Facts About Bows
Here are a few fun facts to impress your friends:
- The word “bow” comes from the Old English word “boga,” meaning “to bend.”
- Bows have been used for decoration and symbolism for centuries, dating back to ancient Greece.
- In some cultures, a perfectly tied bow is considered a sign of good luck.
How to Tie a Bow in Style
Now that you know the basics, let’s talk about adding a personal touch to your bows. Here are a few ideas:
Add a Pop of Color
Use ribbons in bold, vibrant colors to make your bows stand out. This works especially well for gifts or decorations.
Mix and Match Textures
Combine different textures, like satin and velvet, to create a unique look. Just be sure the materials complement each other.
Get Creative with Shapes
Don’t be afraid to experiment with different shapes and sizes. A larger bow can make a big impact, while a smaller one adds a subtle touch of elegance.
Conclusion: You’ve Got This!
So there you have it—everything you need to know about how to tie a bow. From choosing the right material to perfecting your technique, you’re now equipped to tackle any bow-tying challenge that comes your way.
Remember, practice is key. The more you tie bows, the better you’ll get at it. And who knows? You might even start getting requests from friends and family to tie bows for them!
Now, I want you to do me a favor. Leave a comment below and let me know how your bow-tying journey is going. Did you find this guide helpful? What tips do you have for others? And don’t forget to share this article with anyone who needs a little bow-tying inspiration!
Table of Contents
- Why Learning How to Tie a Bow Matters
- Common Mistakes People Make When Tying a Bow
- How to Tie a Bow: A Beginner’s Guide
- Tips and Tricks for Tying a Bow
- How to Tie a Bow in Different Situations
- Common Questions About Tying a Bow
- The Science Behind Tying a Bow
- Fun Facts About Bows
- How to Tie a Bow in Style
- Conclusion: You’ve Got This!